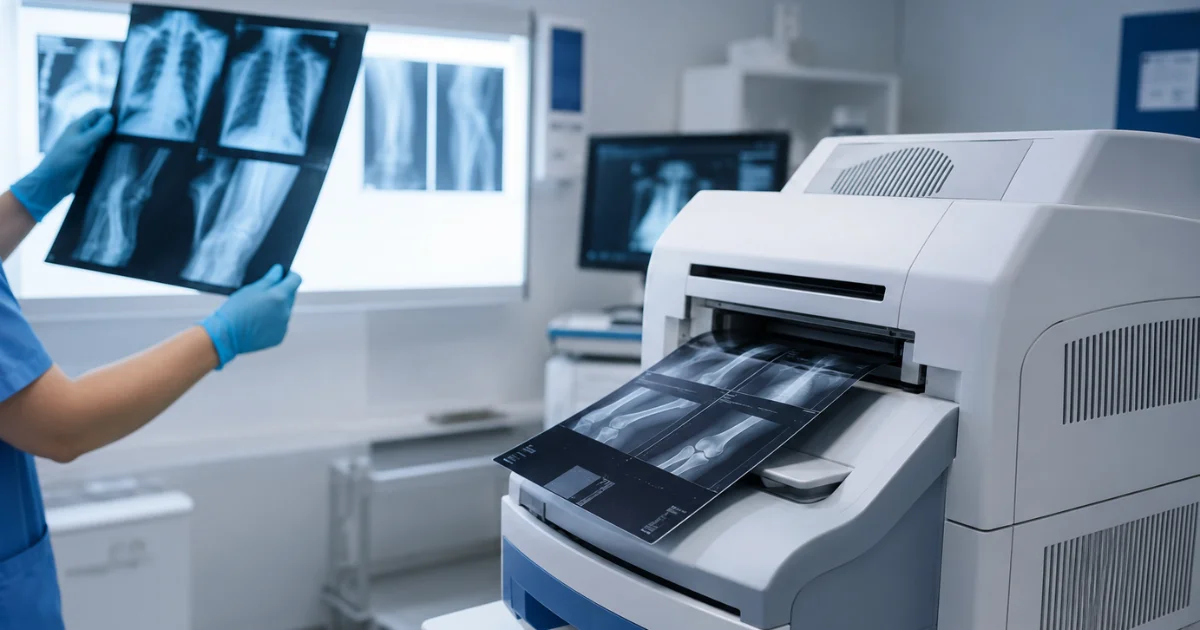
A blurry, streaked, or washed-out X-ray film image isn’t just an inconvenience — it can mean a repeat exam, a delayed diagnosis, or wasted film and staff time. And the frustrating part is that most X-ray film problems radiographers run into aren’t caused by defective film at all. They trace back to one of a handful of fixable issues: a film-printer mismatch, a storage condition, a resolution choice that didn’t match the exam, or routine printer maintenance that slipped.
This guide walks through the most common X-ray film problems affecting dry, thermal, and laser film — how to prevent them before they start, how to diagnose what’s actually going wrong when an image comes out wrong, and what quality standards to hold your film to in the first place.
Table of Contents
1. Getting Film-Printer Compatibility Right
Using the wrong film type for your printer is the single most common cause of X-ray film problems — and it’s entirely avoidable.
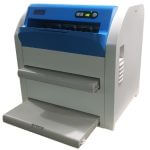
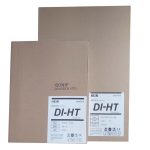
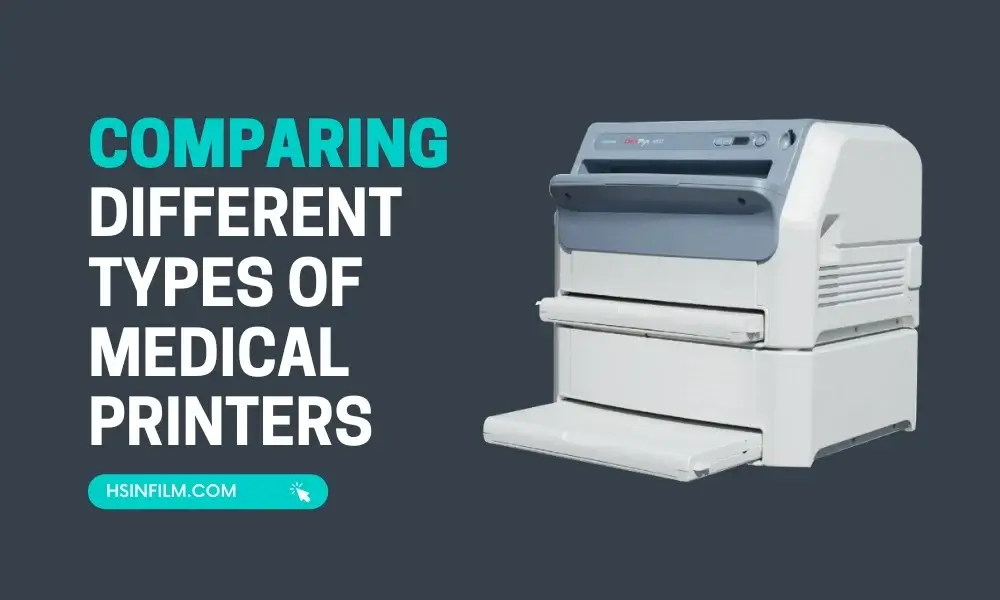
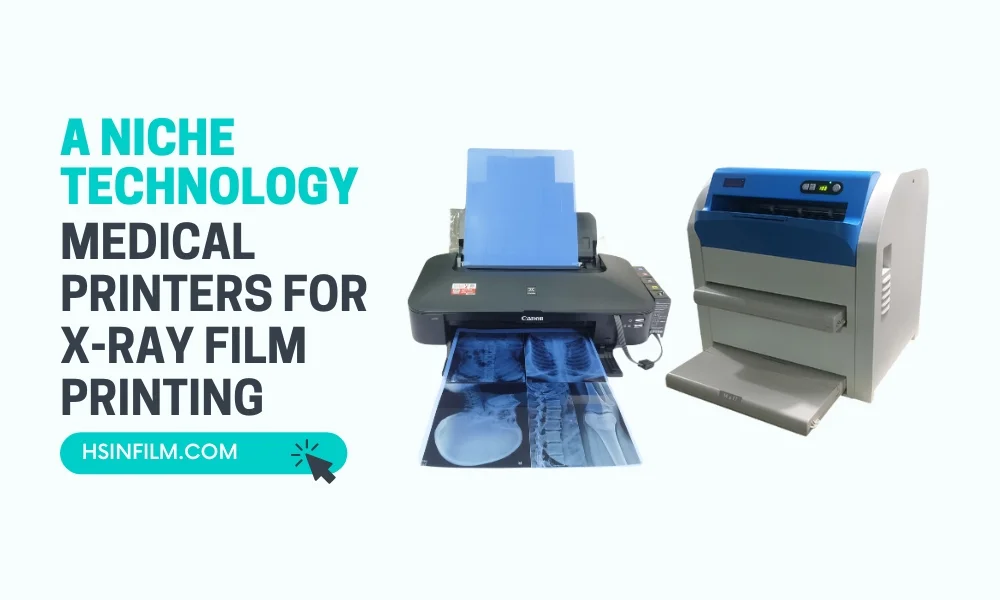
- Dry Thermal Film → requires a dry thermal printer (no chemicals, heat-sensitive coating)
- Laser Film → only works with laser imagers
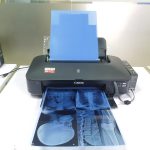
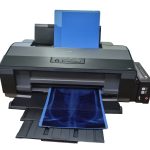
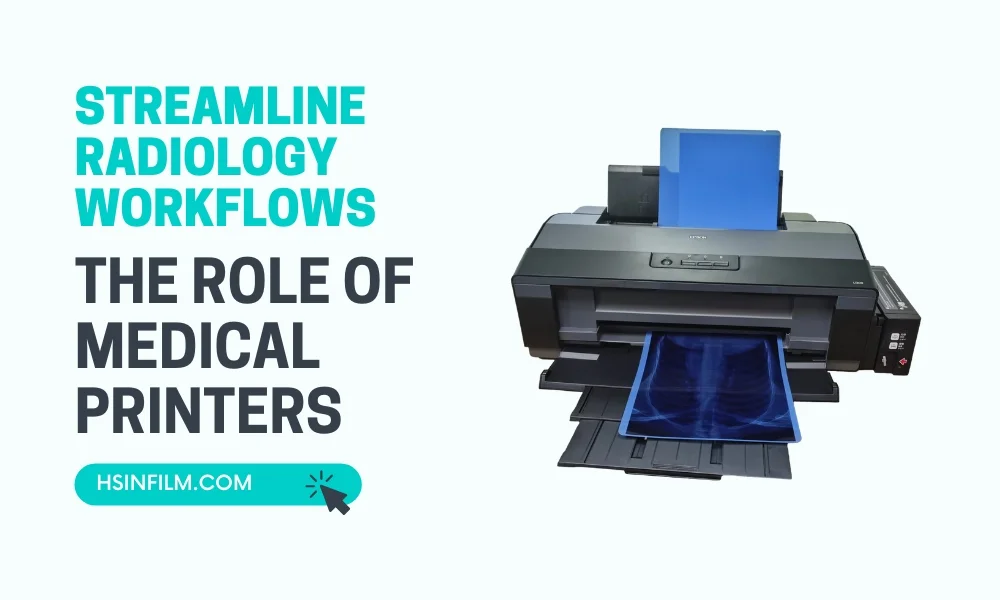
- Dry/Inkjet Film → requires an inkjet printer with compatible ink (HSIN-specified ink recommended)
Check your printer’s manual or label before ordering — mismatched film and printer combinations cause jams, streaking, and wasted sheets. This is worth confirming even if you’ve used a given film-printer pairing for years, since printer firmware updates and film manufacturing changes can occasionally shift what’s officially supported.
If you’re unsure what your setup requires, contact us with your printer model and we’ll confirm compatibility before you order.
Why compatibility issues are so easy to miss
Compatibility problems often don’t show up as an obvious “wrong film” error — they show up as subtle quality complaints that get misattributed to something else. A department might blame “bad batch” film for months when the actual issue is a printer that was never quite matched to the film’s heat or laser-exposure specifications. If a quality problem started right after a film order, printer purchase, or supplier switch, compatibility is the first thing worth ruling out — before assuming a defect or blaming storage conditions.
2. What Quality Standards Should Your Film Meet
Reliable film should meet baseline standards regardless of type:
- Sufficient DPI/resolution for the exam type — higher for mammography than general radiography
- Consistent grayscale depth for accurate density representation, so subtle tissue and bone density differences remain visible
- A stable base material that resists warping from heat and humidity, so films don’t curl or distort after storage
- Manufacturing quality control that ensures batch-to-batch consistency, so one box of film performs the same as the next
When evaluating a new film supplier or product line, ask for documentation on these four points specifically rather than relying on price or brand reputation alone. They align with the spirit of the FDA’s standards for diagnostic X-ray equipment, even though film itself isn’t separately certified the way imaging equipment is. A film that’s cheap per sheet but inconsistent batch-to-batch can end up costing more in wasted exams and repeat imaging than a slightly pricier, more consistent option.
3. Common X-Ray Film Problems: Image Artifacts and What Causes Them
| Artifact | Likely Cause |
|---|---|
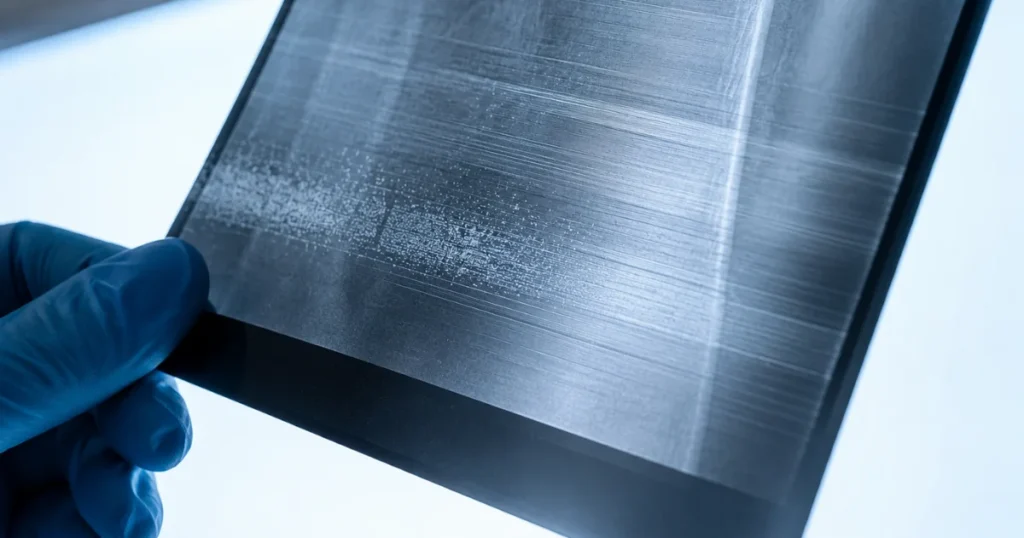
| Streaks or banding | Printhead buildup or inconsistent heat application (dry/thermal printing) |
| Static/lightning-bolt marks | Film handled or stored without anti-static precautions |
| Bubbles or surface cracks | Uneven drying |
| Fogging or washed-out images | Poor storage conditions — heat, humidity, or expired film |
| Blurry or soft images | Printer resolution mismatch, incorrect film-printer pairing, or motion during exposure |
| Uneven density across the sheet | Printhead wear or inconsistent pressure during printing |
| Spotting or pinholes | Dust or debris on the printhead or film surface before printing |
Most artifact issues trace back to either storage conditions or a film-printer mismatch — check those two first before assuming it’s a defect. A useful diagnostic habit: if the same artifact appears in the same location on every sheet, it’s almost always a printer or processing issue rather than a film defect. If the artifact is random and inconsistent from sheet to sheet, storage or handling is the more likely cause.
A simple troubleshooting sequence
When a quality issue shows up, working through these steps in order tends to isolate the cause fastest:
- Check the artifact’s consistency. Does it repeat in the same spot on every print, or is it random? Repeatable points to the printer; random points to storage or handling.
- Confirm film-printer compatibility. Verify the film type matches what the printer is specified for, especially if anything about the setup recently changed.
- Inspect the printhead. For thermal and dry printers, a dirty or worn printhead is one of the most common sources of streaking and banding, and it’s usually a quick fix.
- Review recent storage conditions. Was the affected film exposed to heat, humidity, or direct light before use? Even a short lapse — a delivery left in a hot loading dock, for instance — can affect an entire batch.
- Check the expiration and shelf-life dating on the affected film. Expired or near-expired film is a common, overlooked cause of fogging and reduced contrast.
4. Resolution Needs by Exam Type
Different imaging modalities need different resolution levels, and matching resolution to the exam is more important than maximizing DPI universally:
- General radiography (X-ray): 300+ DPI is generally sufficient for routine diagnostic work
- Mammography: 600+ DPI recommended due to the need to detect fine microcalcifications that can be early indicators of disease
- CT/MRI: Resolution needs vary by protocol — check with your imaging department’s specific requirements, since these can differ by facility and equipment
Choosing film below the resolution threshold your exam type needs is a common, avoidable cause of diagnostic-quality complaints — and one that’s easy to prevent simply by confirming resolution specs match the modality before ordering in bulk.
Resolution vs. cost tradeoffs
It’s tempting to standardize on the highest-resolution film available across every exam type, but that’s not always the most efficient choice. Higher-resolution film — typically laser film — tends to cost more per sheet, so applying it to exam types that don’t require that level of detail (general radiography, for instance) adds cost without adding diagnostic value. Matching resolution to modality, rather than defaulting to the highest option everywhere, keeps both image quality and cost in the right place.
5. Storage & Handling to Prevent Quality Loss
- Store film in a cool, dry environment away from direct heat sources
- Keep film in its original packaging until ready to use
- Avoid leaving film in hot vehicles or direct sunlight, even briefly during delivery or transport between facilities
- Rotate stock so older film is used first (check shelf-life dating)
- Handle film by the edges to avoid transferring oils or moisture onto the imaging surface
- Keep storage areas free of static-generating materials, particularly for film types sensitive to static artifacts
Building a simple storage routine
Most storage-related quality problems come from small, cumulative lapses rather than one dramatic failure — a delivery briefly left outside, a storage room that runs warm in summer, film stacked flat under heavy boxes for months. A short routine helps catch these before they affect image quality:
- Check storage room temperature and humidity periodically, especially across seasonal changes
- Inspect incoming deliveries for signs of heat or moisture exposure before shelving them
- Use a first-in, first-out rotation system so film doesn’t sit past its shelf-life window
- Do a quick visual check of film packaging for damage before use, particularly after any facility move or supplier switch
6. Printer Maintenance and Its Effect on Image Quality
Because dry and thermal printing eliminate chemical processing, printer condition becomes the main variable standing between good film and a clear image. A few maintenance habits go a long way:
- Clean printheads on a regular schedule, not just when a problem appears — buildup accumulates gradually and often shows up as streaking before it’s obvious to the eye
- Check for consistent pressure and alignment during routine servicing, since uneven pressure is a common cause of density variation across a sheet
- Keep the printer’s operating environment clean, since dust and debris are a frequent cause of spotting and pinhole artifacts
- Follow the manufacturer’s service intervals for your specific printer model rather than waiting for a visible quality drop, since some early-stage issues are subtle
Departments that catch printer-related quality issues early, through routine maintenance rather than reactive troubleshooting, tend to see far fewer wasted sheets and repeat exams over time.
7. How Quality Issues Differ Across Film Types
While the general troubleshooting principles above apply across the board, each film type has its own typical failure points worth knowing in advance.
Dry film issues tend to center on printhead condition and storage humidity, since the coating that reacts to heat is also somewhat sensitive to ambient moisture. Warping or a slightly soft image is more often a storage issue than a printer one for this film type.
Thermal film is the most heat-sensitive of the three, both during printing and storage. Quality complaints here disproportionately trace back to a warm storage room or a delivery that sat somewhere hot before reaching the shelf — worth checking first whenever a batch of thermal film starts producing inconsistent density.
Laser film, particularly on systems that still involve chemical development, can show quality issues tied to processing chemistry itself — developer temperature, fixer freshness, and processing time all affect the final image in ways that don’t apply to dry or thermal film at all. If your laser imager uses chemical processing, quality troubleshooting needs to include the processing side, not just the film and printer.
Knowing which category a quality complaint falls into — printer, storage, or (for some laser systems) chemical processing — narrows the troubleshooting path considerably before you even look at the affected film itself.
8. Documenting Quality Issues for Faster Resolution
When a quality problem does show up, a small amount of documentation makes it much easier to identify the root cause and get it resolved quickly, whether that means adjusting an internal process or working with your film supplier:
- Note the date and batch/lot number of the affected film, if available on the packaging
- Photograph the artifact clearly, including its position on the sheet and whether it repeats across multiple sheets
- Record recent changes — a new printer, a new film order, a facility move, a maintenance visit — that happened around the time the issue started
- Track how many sheets are affected out of a given batch, since a single bad sheet points to a different cause than a whole-batch pattern
This kind of record turns a vague “the film’s been bad lately” complaint into something a supplier or biomedical technician can actually act on, which shortens the time to resolution considerably.
Frequently Asked Questions
Why are my thermal film images coming out blurry?
Blurry thermal film images are usually caused by a printer-film mismatch, printer maintenance issues, or motion during the imaging process itself rather than the film. Start by confirming your film matches your printer’s exact specification, then check printhead condition before looking elsewhere.
What’s the difference between an artifact and a genuine printer defect?
Artifacts tend to be consistent and repeatable (the same streak pattern on every sheet), which usually points to a printer or processing issue. Random, one-off marks are more likely storage or handling related rather than a defect in the printer itself.
Does higher resolution always mean better diagnostic quality?
Not necessarily beyond what your exam type requires — matching resolution to the modality (e.g., higher for mammography, standard for general radiography) is more important than maximizing DPI universally, and it keeps costs proportional to actual diagnostic need.
Can I use HSIN film with my existing printer from another manufacturer?
Compatibility depends on your specific printer model. Contact us with your printer make and model, and we’ll confirm whether HSIN film is a fit before you order.
How often should printheads be cleaned to avoid quality issues?
This depends on print volume and the specific printer model, so following the manufacturer’s recommended service interval is the safest approach — waiting for visible streaking usually means buildup has already been accumulating for a while.
What’s the most common cause of X-ray film problems that isn’t actually a film defect?
Storage conditions and film-printer mismatches account for the large majority of X-ray film problems attributed to “bad film.” Ruling these out first, before assuming a defect, resolves most complaints without needing a replacement order.
Should I document a quality issue before contacting my film supplier?
Yes — noting the batch or lot number, photographing the artifact, and recording any recent changes to your printer or storage setup makes it much faster for a supplier to identify whether the cause is on the film side or the equipment side, rather than starting the investigation from scratch.
Do quality standards differ for archival film versus film used for immediate diagnostic reads?
The baseline resolution and grayscale requirements are generally similar, but film intended for long-term archival storage benefits from extra attention to base material stability and storage conditions, since it needs to hold up over a much longer period without fogging, warping, or fading.
Conclusion
Consistent, diagnostic-quality film output comes down to getting a handful of fundamentals right: matching film type to your printer, choosing resolution appropriate to the exam, storing film properly, and keeping printers well maintained. Most X-ray film problems that get attributed to “bad film” actually trace back to one of these four areas rather than the film itself — which means most X-ray film problems are both diagnosable and preventable with the right routine in place.