Saving money without sacrificing quality. Because let’s be honest, in today’s healthcare landscape, every penny counts. And if you’re still overspending on imaging costs because of avoidable film and procurement mistakes? We need to fix that—fast.
Imagine slashing your dry film imaging expenses by 30% or more—just by making smarter choices with dry film solutions. No magic, no gimmicks—just strategic purchasing, better compatibility, and optimized workflows.
Why This Matters More Than Ever
- Wasted film = wasted cash (and let’s face it, nobody’s got budget to burn).
- Compatibility errors lead to reprints, delays, and frustrated staff.
- Outdated procurement habits keep you stuck in a cycle of overspending.
But here’s the good news: You don’t have to settle. By leveraging dry film solutions and smarter buying strategies, you can:
✅ Drastically cut costs without compromising diagnostic quality.
✅ Streamline your workflow—fewer errors, faster turnarounds.
✅ Future-proof your imaging department with reliable, cost-effective tech.
What’s Your Pain Point?
- Spending too much on film that doesn’t work with your printers?
- Tired of last-minute ordering and inflated prices?
- Worried about hidden costs like storage waste and reprints?
You’re not alone. And in this guide, we’ll break down exactly how to fix it—with real-world tips, vendor negotiation tricks, and foolproof dry film solutions that actually work.
Table of Contents
Ready to Stop Wasting Money?
Stick around—because by the end of this, you’ll have a step-by-step plan to reduce costs, boost efficiency, and finally take control of your imaging budget.
First up: Why dry film is the secret weapon your budget needs.
P.S. Have a procurement horror story? Share it below—we’ve all been there! 👇 And if you need personalized advice, [HSIN Film’s experts] are just a call away. Let’s get you saving. 🚀
Understanding the True Costs of Wet Film Imaging
When you think of wet film processing, what comes to mind? If you said “expensive, messy, and stuck in the 1980s,” you’re already halfway there.
But here’s what most clinics don’t realize—the real cost of wet film isn’t just the price tag on the box. It’s the sneaky, behind-the-scenes expenses that bleed your budget dry over time.
So, let’s break it down—because once you see the full picture, you’ll never look at wet film the same way again.
Direct Costs: The Obvious (and Painful) Expenses
1. Film & Chemicals – The Never-Ending Shopping List
- Film costs vary wildly by size, type, and quantity—but here’s the kicker: you’re locked into specific brands that work with your processor. No bargain hunting.
- Chemicals (developer, fixer, replenisher) aren’t optional—they’re a recurring subscription you can’t cancel. And prices? They only go up.
- Water usage adds up fast. A single processor can guzzle hundreds of gallons per month—and that’s before disposal fees.
Real-life example: A mid-sized clinic spent $18,000/year just on chemicals and film—before even counting retakes or maintenance.
2. Energy & Disposal – The Silent Budget Killers
- Processors run 24/7, consuming power even when idle.
- Ventilation systems (because those fumes aren’t OSHA-friendly) jack up your electric bill.
- Hazardous waste disposal isn’t just a hassle—it’s $200-$500 per pickup in many areas.
Fun fact: Switching to dry film can cut energy costs by up to 60%—imagine what you could do with those savings.
Indirect Costs: The Stealthy Profit Drain
1. Staff Time – Your Team Isn’t Free
- Manual processing = techs playing chemist instead of helping patients.
- Quality control checks add hours per week to your workflow.
- Troubleshooting (Why are the images foggy? Why is the processor leaking?) eats into productivity.
Stat attack: Clinics using wet film waste 15-20% more staff time on processing vs. dry systems.
2. Maintenance & Repairs – Because Wet Processors Love to Break
- Chemical corrosion destroys parts over time.
- Mechanical failures (pumps, rollers, heaters) lead to $500-$2,000 service calls—often at the worst possible moment.
- Downtime means sending patients elsewhere = lost revenue.
Horror story: One hospital’s processor died during a weekend trauma case—$8K in emergency repairs + $12K in lost referrals.
3. Storage & Waste – The Space You Can’t Afford
- Bulky film boxes eat up precious storage real estate.
- Chemical shelves need ventilation, safety signage, and spill kits.
- Expired or contaminated supplies = straight to the trash (and your bottom line).
Pro insight: Many clinics don’t factor in $5-$10/sq ft/month for storage—until they switch to dry film and suddenly gain a whole extra closet.
4. Retakes & Redos – The Domino Effect
- Artifacts, streaks, or underdeveloped films mean 5-10% retake rates in some wet systems.
- More films used = more chemicals consumed = more waste generated. It’s a vicious (and expensive) cycle.
Ouch moment: A busy ortho clinic wasted $3,200 in 3 months on retakes due to inconsistent chemical exhaustion.
Wet Film is a Money Black Hole
When you add it all up:
- Upfront costs (film, chemicals, processors)
- Hidden drains (staff time, maintenance, storage)
- Crisis expenses (breakdowns, retakes, disposal)
…you’re looking at 20-30% higher costs vs. dry film—with zero added benefit.
What’s Your Next Move?
If you’re still running wet film, ask yourself:
- How much is inconsistency costing you?
- Could your team’s time be better spent on patient care?
- What would you do with an extra $15K-$30K/year in savings?
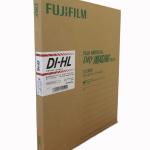
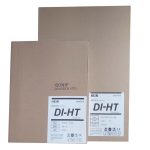
Don’t forget to visit our high-quality and affordable medical dry film
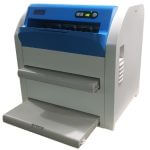
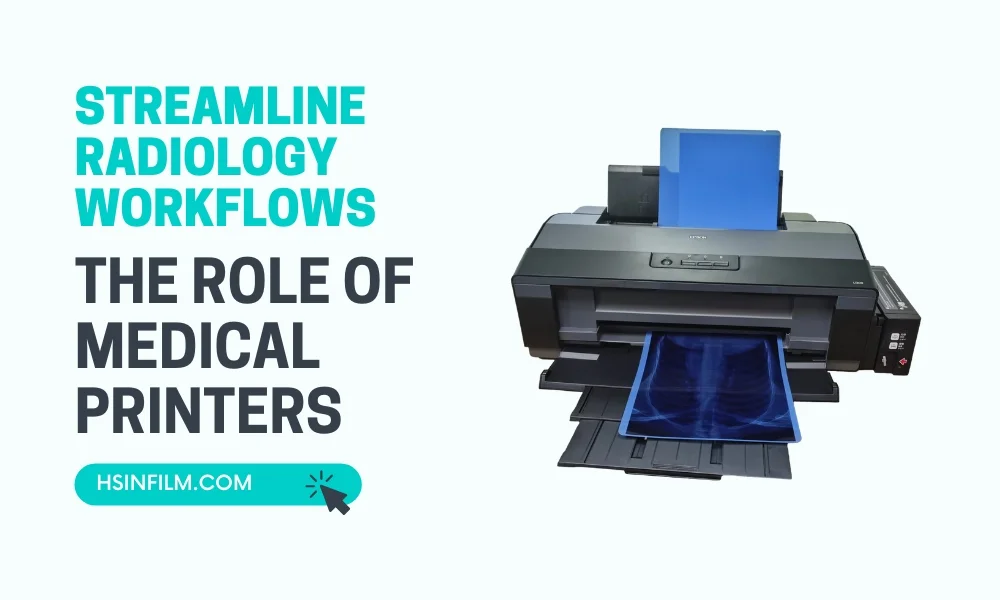
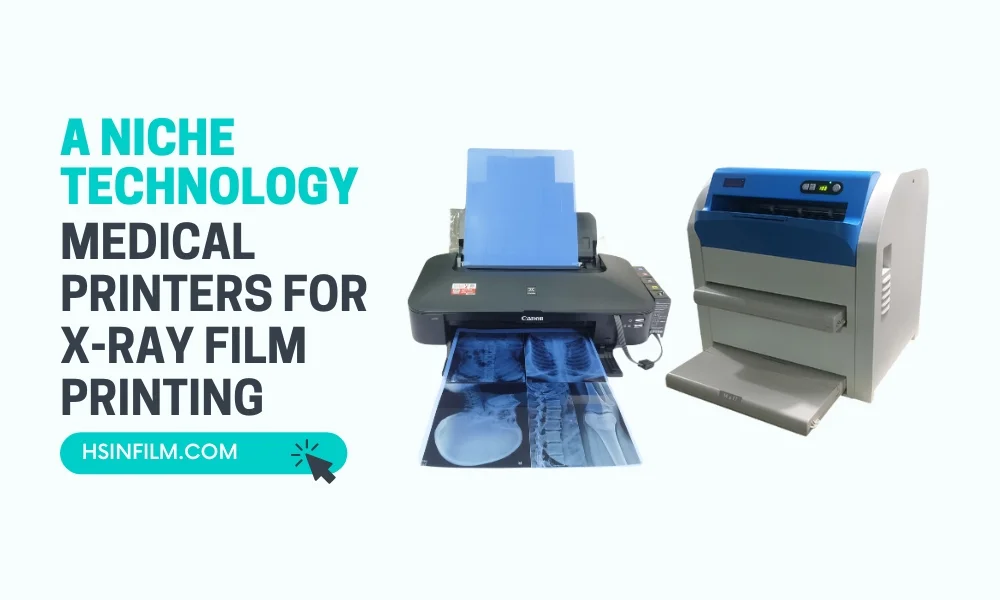
Why Dry Film Technology is Your Budget’s New Best Friend
In healthcare, every dollar counts. But what if we told you there’s a way to keep delivering top-quality imaging while dramatically cutting costs? Enter dry film technology – the unsung hero of modern radiology departments.
Here’s the real talk: wet processing isn’t just old-school – it’s quietly draining your resources. We’re talking thousands of dollars slipping through your fingers every year on chemicals, maintenance, and wasted staff time. But dry film? That’s where the magic happens.
1. Kiss Those Chemical Costs Goodbye
Remember that monthly chemical order that feels like a ransom payment? With dry film, you can:
- Eliminate developer, fixer, and replenisher costs completely (cha-ching!)
- Say goodbye to hazardous chemical storage and handling
- No more worrying about chemical exhaustion ruining your images
Real-world win: Midwest Imaging Center saved $18,000 annually just by ditching chemical costs after switching to dry film.
2. Water Bills That Won’t Make You Cry
Your wet processor isn’t just thirsty – it’s basically a money-guzzling camel:
- Typical wet systems use 300-500 gallons of water per month
- Dry systems? Almost zero water consumption
- That’s $1,200-$2,000/year back in your budget
Fun fact: After switching to dry film, Coastal Radiology reduced their water usage by 92% – and got a sustainability award from their city.
3. Energy Savings That Add Up Fast
Here’s the shocking truth about your energy bill:
- Wet processors run 24/7 to maintain chemical temps
- Dry imagers only power up when printing
- Average clinic saves 50-70% on imaging energy costs
Pro tip: Many dry systems qualify for energy efficiency rebates – more money back in your pocket!
4. Maintenance? What Maintenance?
If your service technician knows you by name, it’s time for a change:
- No more chemical corrosion eating your equipment alive
- Fewer moving parts = fewer breakdowns
- Typical clinic saves $3,000-$8,000/year on service calls
Horror story avoided: After switching to dry film, University Hospital’s imaging maintenance costs dropped from $15,000 to $2,500 annually.
5. Your Staff Will Thank You
Let’s be honest – your techs didn’t go to school to play chemist:
- No more babysitting processors
- Eliminate quality control headaches
- Staff can focus on patients, not chemical levels
Stat that matters: Clinics report 15-20% faster exam-to-result times with dry systems.
6. Space: The Final Frontier (Now Available!)
That chemical storage room could be…well, anything else:
- No bulky processor hogging your floor space
- No chemical storage eating up your closets
- Compact dry imagers fit where wet systems can’t
Clever move: One clinic turned their old chemical room into a much-needed staff lounge (morale boost unlocked).
7. Do Good While Saving Money
Going green isn’t just trendy – it’s profitable:
- Eliminate hazardous waste disposal fees ($200-$500 per pickup)
- Reduce your environmental footprint
- Boost your facility’s green credentials
Marketing bonus: 78% of patients prefer eco-conscious providers – now that’s what we call a win-win.
This Isn’t Just an Upgrade – It’s a Financial Game-Changer
When you add up all the savings:
✔ No more chemical costs
✔ Lower utility bills
✔ Reduced maintenance
✔ More productive staff
Most clinics recoup their investment in 12-18 months – after that, it’s pure savings.
Ready to stop pouring money down the drain? Contact us and book a demo to see the technology in action.
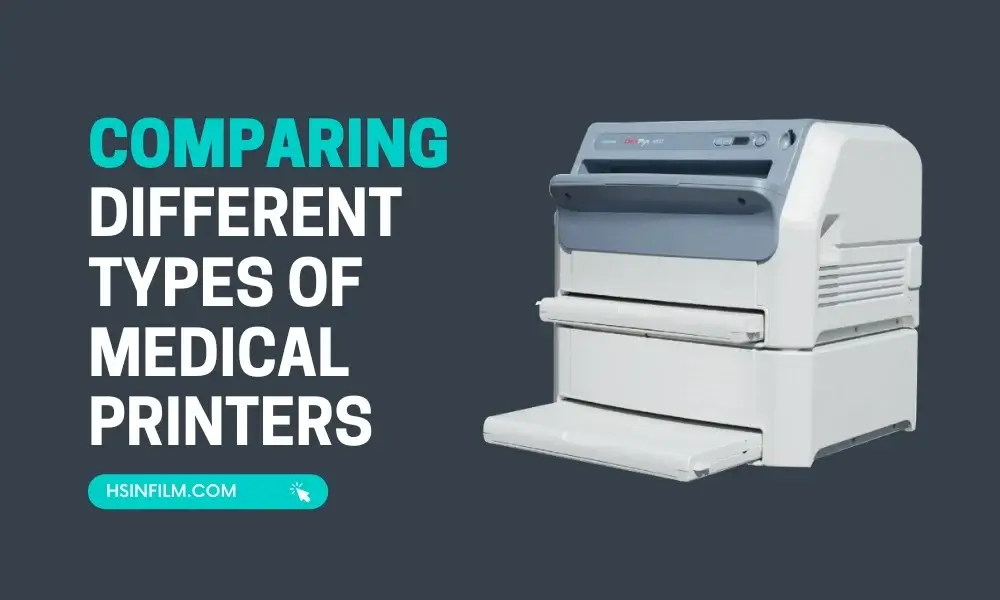
Smart Procurement Strategies for Dry Film Solutions (Cutting Costs by 30%)
Switching to dry film is just the first step. The real savings come from how you buy, manage, and optimize your new setup. Think of it like this: You wouldn’t buy a Ferrari and then put cheap gas in it, right? Same logic applies here.
If you want to slash costs by 30% or more, you need a bulletproof procurement strategy. Here’s exactly how to do it.
1. Strategic Vendor Selection: Don’t Just Pick the First Name You Recognize
Research & Compare Suppliers
- Not all dry film vendors are created equal. Compare pricing, support, and reliability—especially in Bangladesh’s market.
- Look beyond the brochure: Read reviews, ask for references, and test samples.
Negotiate Like a Pro
- Volume discounts exist—ask for them! Buying in bulk? Push for 10-20% off.
- Long-term contracts can lock in better rates (but make sure there’s flexibility).
Total Cost of Ownership (TCO) Matters
- A cheap imager with expensive film or maintenance is a trap.
- Calculate 3-5 year costs (film, service, energy) before committing.
Real-life win: A Dhaka clinic saved 25% annually by switching to a local supplier with better service terms.
2. Optimizing Film Usage: Print Smarter, Not Harder
Use PACS to Cut Waste
- 30-40% of prints are unnecessary—PACS can reduce that.
- Set protocols: Only print what’s absolutely needed for referrals or surgery.
Multi-Format Imagers = Huge Savings
- Why stock three film sizes when one imager can handle them all?
- Less waste, lower inventory costs.
Train Your Team
- Teach staff how to review images digitally first before printing.
- Small habit changes = big savings over time.
Stat attack: Clinics using PACS + smart printing rules cut film costs by 35%.
3. Negotiating Service & Maintenance: Don’t Get Stuck with Bad Contracts
Preventative Maintenance > Emergency Repairs
- Regular checkups keep imagers running smoothly.
- Cheaper than waiting for a breakdown (which always happens at the worst time).
Lock in Fair Rates
- Compare service contracts—some vendors charge 2-3x more for the same coverage.
- Ask for bundled deals (e.g., free first-year maintenance).
Horror story: A hospital paid $5,000 extra over 3 years because they didn’t negotiate their service contract.
4. Bulk Purchasing & Inventory Management: Stop Wasting Money on Expired Film
Forecast Accurately
- Track usage trends to avoid over- or under-ordering.
- Seasonal adjustments? Plan ahead.
Bulk Discounts = Instant Savings
- Ordering 6-12 months’ worth can save 15-30%.
- Just make sure you store film properly (no humidity!).
First In, First Out (FIFO) Rule
- Rotate stock to prevent expired film disasters.
Pro tip: One clinic used inventory software to cut waste by 90%.
5. Evaluating Alternative Brands: Don’t Be Brand-Loyal If It Costs You
Generic Films Can Be Just as Good
- Many third-party films meet the same quality standards for 20-40% less.
- Test samples first to ensure compatibility.
Local Suppliers Might Surprise You
- Bangladesh has rising domestic options—support local and save.
Success story: A Chittagong lab switched to a regional supplier and saved $8,000/year without quality loss.
6. Total Cost of Ownership (TCO): The Ultimate Cost-Cutter
Wet vs. Dry Film—Do the Math
| Cost Factor | Wet Film | Dry Film | Savings |
|---|---|---|---|
| Chemicals | $10,000/yr | $0 | $10,000 |
| Maintenance | $6,000/yr | $1,500/yr | $4,500 |
| Energy | $3,000/yr | $1,200/yr | $1,800 |
| Total Annual Savings | $16,300 |
30% Savings? Easily Achievable.
- Most clinics recoup their dry film investment in 12-18 months.
- After that? Pure profit.
Your Action Plan Starts Now
✅ Compare vendors—don’t settle for the first quote.
✅ Optimize printing—use PACS and protocols.
✅ Negotiate service contracts—preventative care is cheaper.
✅ Buy smart—bulk discounts + FIFO inventory.
✅ Test alternatives—generic films can be goldmines.
Implementing Dry Film Solutions Effectively: Your Smooth Transition Roadmap

So, you’ve decided to make the switch to dry film—smart move! But before you start celebrating those sweet cost savings, let’s talk about how to roll this out without turning your imaging department into chaos central.
Because here’s the truth: Even the best technology fails without the right setup.
Don’t worry—we’ve got your back. Here’s your step-by-step guide to implementing dry film solutions smoothly, efficiently, and without meltdowns.
1. Infrastructure Requirements: No Surprises, Please!
Space & Power Needs
- Dry imagers are smaller than wet processors, but they still need:
- A stable power supply (no dodgy outlets—this isn’t your grandma’s toaster).
- Adequate ventilation (even though there are no chemicals, heat can build up).
- Proper network connectivity (if integrating with PACS/RIS).
Workflow Adjustments
- Where will films be printed? Near radiologists? In a centralized hub?
- Will you phase out wet processors gradually or go cold turkey? (Hint: Gradual is usually smoother.)
Real-life lesson: A Dhaka clinic tried to switch overnight and ended up with two days of printing chaos before they reorganized their workflow.
2. Staff Training: Because “Figure It Out” Isn’t a Strategy
Start Early & Train Thoroughly
- Don’t wait until installation day. Train staff before the new system arrives.
- Hands-on practice > boring lectures. Let them print test images.
Cover the Essentials
✔ Loading film correctly (no upside-down disasters).
✔ Basic troubleshooting (because errors will happen).
✔ Digital workflow best practices (if integrating with PACS).
Stat that matters: Clinics that invest in proper training see 50% fewer user-related errors in the first month.
3. Integration with PACS/RIS: Make It Seamless
Test Before You Go Live
- Ensure DICOM compatibility—no one wants corrupted images.
- Verify print routing (so films go to the right imager automatically).
Workflow Optimization
- Set up presets for common exams (chest X-rays, extremities, etc.).
- Automate where possible—less manual work = fewer mistakes.
Pro tip: Run a mock workflow with dummy exams before switching to real patients.
4. Quality Assurance & Control: Don’t Sacrifice Diagnostic Integrity
Calibrate Regularly
- Dry imagers need periodic calibration to maintain image consistency.
- Schedule checks monthly (or per manufacturer guidelines).
Monitor Image Quality
- Compare old vs. new films during transition.
- Get radiologist feedback—if they’re unhappy, adjust settings.
Success story: A Chittagong hospital saw zero diagnostic discrepancies after implementing a strict QA protocol.
The Golden Rule: Pilot Before Full Rollout
- Start with one department or machine.
- Fix issues early before scaling up.
- Gather feedback from techs and radiologists.
Your Implementation Checklist
✅ Assess infrastructure needs (space, power, networking).
✅ Train staff early and often.
✅ Test PACS/RIS integration thoroughly.
✅ Establish QA protocols from Day 1.
✅ Pilot first, then expand.
The Bottom Line: Dry Film = Smarter, Leaner, Future-Ready Imaging
If your clinic is still clinging to wet film processing, you’re literally pouring money down the drain. Every. Single. Day.
But here’s the exciting part: Switching to dry film isn’t just an upgrade—it’s a financial game-changer. We’re talking:
✅ 30%+ cost savings (goodbye, chemical bills!)
✅ Faster, simpler workflows (happy staff = happier patients)
✅ No more maintenance nightmares (RIP, weekend service calls)
And the best part? You don’t need a massive budget or fancy infrastructure to make the switch. Even small clinics and startups can reap these benefits from Day 1.
Your Next Steps (No More “Someday” Excuses!)
1️⃣ Calculate your potential savings – We’ll help you crunch the numbers.
2️⃣ Explore dry film options – Find the perfect fit for your clinic’s needs.
3️⃣ Make the switch – Start saving faster than you thought possible.
Ready to stop wasting time and money on outdated tech? Contact us today for a personalized cost-benefit analysis—or check out our dry film solutions to see how easy the transition can be.
Your future (thinner) expense reports will thank you. 🚀