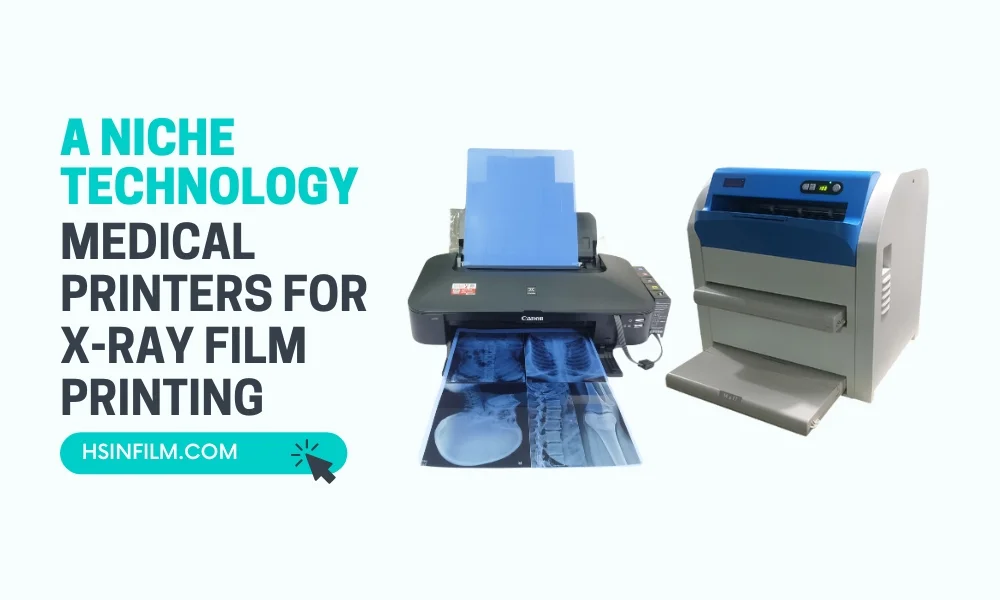
Picture this: You’ve got a critical patient scan in front of you, but instead of crisp, clear images, you’re staring at streaks, blotches, or weird shadows that shouldn’t be there. Is it a pathology? A technical glitch? Or just your thermal film acting up?
Artifacts on medical thermal film aren’t just annoying—they’re diagnostic roadblocks. A single streak or smudge could obscure a crucial detail, leading to misinterpretation, repeat scans, or delayed treatment. And let’s be honest: No one has time for “Is that a real finding or just a film flaw?” detective work.
That’s where this guide comes in. We’re breaking down:
🔍 The most common thermal film artifacts (and how to spot them).
⚠️ What causes them—from printer hiccups to handling mistakes.
🛠️ How to prevent them so your films stay pristine and diagnostic-ready.
By the end, you’ll be a thermal film artifact whisperer—saving time, reducing retakes, and keeping your sanity intact.
Ready to banish those pesky flaws for good? Let’s dive in!
Table of Contents
Understanding the Basics of Medical Thermal Film Imaging (And Why Proper Handling Matters More Than You Think!)
Let’s talk about medical thermal film—that magical (yet ridiculously sensitive) material that turns invisible heat signals into crisp, clear diagnostic images. If you’ve ever handled it, you know it’s not your average printer paper. Nope, this stuff is more high-maintenance than a celebrity on a juice cleanse.
How Does Thermal Film Imaging Even Work?
In simple terms, thermal film imaging is like a high-stakes game of connect the dots—except instead of a pencil, you’re using heat. The film is coated with microscopic layers of dye and developer chemicals. When the thermal printer’s heating element touches the film, it activates these layers, creating the image.
But here’s the kicker: that image is super fragile until it’s fully processed. Expose it to too much heat, light, or even the wrong kind of touch? Boom—your perfect X-ray now looks like a blurry UFO sighting.
Why Proper Handling is Non-Negotiable
Imagine this: A rushed tech grabs a freshly printed film, fingers slightly sweaty, and bam—fingerprints galore. Or worse, someone leaves a batch near a sunny window, and suddenly, your patient’s MRI looks like it’s been through a tanning bed. Not ideal.
Here’s the hard truth: Up to 15% of film artifacts (those weird streaks or foggy areas) are caused by improper handling (Journal of Medical Imaging, 2020). That means missteps can lead to misdiagnoses, retakes (hello, extra radiation exposure!), and frustrated patients.
The Golden Rules of Thermal Film Care
- Handle with (Clean) Care – Oils from your skin? The film’s worst enemy. Always hold it by the edges or wear gloves.
- Keep It Cool & Dark – Thermal film hates heat and UV light like vampires hate sunlight. Store it in a cool, dry place.
- Process It Fast – The longer it sits post-printing, the more vulnerable it is. Get it developed ASAP.
Treat Thermal Film Like a VIP
This isn’t just about avoiding annoying retakes—it’s about patient safety, diagnostic accuracy, and saving your clinic time and money. So next time you handle thermal film, channel your inner surgeon: precise, deliberate, and never careless.
Because at the end of the day, a perfect image isn’t just nice—it’s essential. And now you know exactly how to make that happen. 😉
(Need more tips on optimizing your imaging workflow? Drop a comment below—we’ve got your back!)
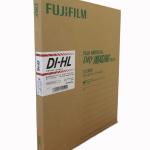
Looking for high-quality medical thermal film at a reasonable price? Check our medical thermal film.
Common Artifacts on Medical Thermal Film: Your Quick-Reference Troubleshooting Guide

Ever pulled a freshly printed medical film only to find weird streaks, blotches, or ghostly distortions? Yeah, we’ve all been there. These sneaky imperfections—called artifacts—can turn a crisp diagnostic image into a frustrating puzzle. But don’t panic! Most of these issues have simple fixes—if you know what to look for.
Let’s break down the most common thermal film artifacts, what causes them, and—most importantly—how to prevent them from ruining your images (and your day).
1️⃣ Density Artifacts (When Your Film Can’t Make Up Its Mind on Light vs. Dark)
🔹 Streaks or Bands
- What you see: Annoying lines running through your image like a bad barcode.
- Why it happens: Dirty printer rollers, uneven heat distribution, or film transport hiccups.
- Fix it: Clean the printer rollers, check for mechanical wear, and make sure film feeds smoothly.
🔹 Uneven Density (Patchy Darkness)
- What you see: Some areas too dark, others too light—like a bad Instagram filter.
- Why it happens: Inconsistent heating (maybe a dying thermal head) or film batch variations.
- Fix it: Recalibrate the printer, test a new film batch, or replace aging printer parts.
🔹 Fogging (The “Mystery Haze”)
- What you see: The whole image looks like it’s been dipped in weak coffee.
- Why it happens: Heat or light exposure before processing (yes, even ambient light can do this!).
- Fix it: Store film in a cool, dark place and process immediately after printing.
🔹 Plus Density Marks (Mystery Dark Spots)
- What you see: Random dark blotches where they shouldn’t be.
- Why it happens: Dust or debris on the film during printing, or a printer head overheating in spots.
- Fix it: Keep film clean, inspect printer heads, and use a dust-free environment.
🔹 Minus Density Marks (Ghostly Light Spots)
- What you see: Pale, faded areas where detail disappears.
- Why it happens: Something blocked heat transfer—maybe a speck of dust or a film defect.
- Fix it: Check for obstructions in the printer and handle film carefully to avoid flaws.
2️⃣ Geometric Artifacts (When Your Image Gets Warped Like a Funhouse Mirror)
🔹 Stretching or Compression
- What you see: The image looks squished or elongated in places.
- Why it happens: Film transport issues—maybe a slipping roller or misaligned mechanism.
- Fix it: Inspect the printer’s transport system and recalibrate if needed.
🔹 Edge Distortion
- What you see: Warped or uneven edges, like a melted photograph.
- Why it happens: Poor film handling (bending the edges) or printer feed problems.
- Fix it: Always handle film by the edges and ensure smooth printer operation.
3️⃣ Image Detail Artifacts (When Fine Structures Go MIA)
🔹 Blurring (The “Did Someone Move the Patient?!” Effect)
- What you see: Loss of sharpness, like a camera taken mid-sneeze.
- Why it happens: Low printer resolution, film-printer mismatch, or movement during printing.
- Fix it: Use the correct printer settings and ensure film compatibility.
🔹 Moiré Patterns (The “Trippy Wavy Lines” Problem)
- What you see: Weavy interference patterns, usually from scanning duplicates.
- Why it happens: Digital rescanning of already-printed films.
- Fix it: Avoid re-scanning thermal prints—go back to the original if possible.
🔹 Pixelation (The “8-Bit Video Game” Look)
- What you see: Blocky, low-res areas where detail should be crisp.
- Why it happens: Printer resolution set too low or incorrect film type.
- Fix it: Adjust printer DPI settings and use high-quality film.
4️⃣ Surface Artifacts (When Your Film Gets Battle Scars)
🔹 Scratches or Abrasions
- What you see: Obvious scrapes or scuffs ruining your image.
- Why it happens: Rough handling, storage in abrasive conditions.
- Fix it: Store film in protective sleeves and handle like fragile glass.
🔹 Fingerprints & Smudges (The “Oops, I Touched It” Effect)
- What you see: Oily marks where fingers (or gloves) touched the film.
- Why it happens: Skin oils or contaminants interfering with heat transfer.
- Fix it: Handle film by the edges only—or wear lint-free gloves.
🔹 Dust or Debris (The “Why Is There a Hair in My X-Ray?” Mystery)
- What you see: Tiny specks or fibers embedded in the image.
- Why it happens: Dusty printer environment or dirty film storage.
- Fix it: Keep the workspace clean and store film in sealed packs.
Prevention Beats Panic!
Most artifacts are avoidable with proper handling, storage, and printer maintenance. A little extra care saves time, money, and patient frustration—because nobody wants to re-scan because of a fingerprint!
Got a weird artifact you can’t figure out? Drop a description below—we’ll help you crack the case! 🔍😉
Decoding the Causes: What’s Really Behind Those Pesky Thermal Film Artifacts?
When a medical thermal film comes out looking like it survived a dust storm, a heatwave, and an encounter with a toddler all at once, your first thought is probably: “What the heck went wrong?”
The truth? Most artifacts aren’t random. They’re the direct result of something in your imaging workflow going slightly (or catastrophically) off-track. So, let’s play detective and break down the usual suspects—because knowing the why is the first step to fixing the what.
🖨️ Printer-Related Issues: When Your Machine Acts Up
🔸 Incorrect Printer Settings
- The Crime: Blurry images, pixelation, or weird contrast.
- The Culprit: Wrong resolution, incorrect heat intensity, or mismatched film settings.
- The Fix: Double-check your printer’s manual—yes, actually read it—and ensure settings match your film type.
🔸 Dirty or Malfunctioning Print Heads/Rollers
- The Crime: Streaks, banding, or blotchy spots.
- The Culprit: Dust, debris, or worn-out parts messing with heat transfer.
- The Fix: Clean. Your. Printer. Regularly. (And replace rollers if they look like they’ve been through a war.)
🔸 Improper Calibration
- The Crime: Images too dark, too light, or just… off.
- The Culprit: The printer’s density or temperature settings drifted over time.
- The Fix: Run a recalibration—most printers have a built-in function for this.
🔸 Film Transport Problems
- The Crime: Stretched, compressed, or misaligned images.
- The Culprit: Misaligned rollers, slipping gears, or a film jam mid-print.
- The Fix: Inspect the transport mechanism and make sure film feeds smoothly.
🔸 Static Electricity Buildup
- The Crime: Random speckles or “lightning bolt” artifacts.
- The Culprit: Dry air + plastic film = static cling chaos.
- The Fix: Use an anti-static cleaner or humidifier in dry environments.
🎞️ Film-Related Issues: When the Problem is in the Packaging
🔸 Incompatible Film Type
- The Crime: Washed-out colors, poor contrast, or printer errors.
- The Culprit: Using the wrong film for your printer model.
- The Fix: Always check manufacturer compatibility—don’t assume “thermal film = all the same.”
🔸 Expired Film
- The Crime: Fogging, weird color shifts, or inconsistent density.
- The Culprit: Chemical degradation over time.
- The Fix: Rotate stock (first in, first out) and never use expired film.
🔸 Improper Storage (Heat, Humidity, Light)
- The Crime: Fogged, discolored, or prematurely exposed film.
- The Culprit: Storing film in a hot room, humid closet, or near sunlight.
- The Fix: Keep film in a cool, dry, dark place (ideally 15-25°C / 59-77°F, <60% humidity).
🔸 Manufacturing Defects
- The Crime: Unexplained marks, coating flaws, or weird artifacts.
- The Culprit: Rare, but sometimes a bad batch slips through QC.
- The Fix: Contact the supplier—reputable brands will replace defective film.
✋ Handling & Storage Blunders: When You’re the Problem
🔸 Improper Loading
- The Crime: Misaligned images, jams, or uneven printing.
- The Culprit: Film loaded crooked, upside-down, or with protective layers still on.
- The Fix: Slow down, follow the printer’s loading guide, and check alignment.
🔸 Rough Handling (Scratches, Fingerprints)
- The Crime: Obvious smudges, scratches, or pressure marks.
- The Culprit: Bare fingers, stacking films carelessly, or dragging them across surfaces.
- The Fix: Handle like a priceless artifact—edges only, clean gloves, and flat storage.
🔸 Bad Storage Conditions
- The Crime: Fogging, sticking, or warped film.
- The Culprit: Storing film near radiators, in damp basements, or under bright lights.
- The Fix: Treat film like fine wine—cool, dark, and undisturbed.
🔸 Contaminants (Dust, Oils, Chemicals)
- The Crime: Random spots, streaks, or weird textures.
- The Culprit: Dusty storage, dirty hands, or chemical fumes (cleaning products, etc.).
- The Fix: Store film in sealed packs, keep the area clean, and no eating near the workstation!
Control What You Can.
Most thermal film artifacts aren’t mysteries—they’re preventable. By:
✔ Maintaining your printer (clean it, calibrate it, love it).
✔ Storing film properly (cool, dark, dry—no exceptions).
✔ Handling with care (edges only, no smudges, no bends).
Because at the end of the day, a perfect image isn’t luck—it’s logistics.
Ever encountered a bizarre artifact and figured out the cause? Share your detective story below! 🕵️♂️
Prevention is Key: Your Foolproof Guide to Flawless Thermal Film Imaging
Nobody has time for mysterious streaks, foggy films, or those “how did that even happen?” artifacts that derail your workflow. The good news? Most imaging headaches are 100% preventable if you follow some simple (but critical) best practices.
Think of this as your ultimate cheat sheet for keeping your thermal films crisp, clear, and artifact-free. Because in medical imaging, “good enough” isn’t good enough—your patients deserve perfection.
🛠️ Printer Maintenance: Treat Your Machine Like a VIP
✔ Clean Print Heads & Rollers Religiously
- Why? Dust, debris, and dried ink (if applicable) are the #1 cause of streaks and banding.
- How? Follow the manufacturer’s cleaning schedule—usually weekly or after every few rolls.
- Pro Tip: Use only approved cleaning supplies—household wipes can leave residues that make things worse!
✔ Calibrate Like Clockwork
- Why? Over time, printers drift out of alignment, leading to inconsistent density.
- How? Run calibration tests monthly (or as recommended in your manual).
✔ Schedule Professional Check-Ups
- Why? Even the best in-house care can’t catch every mechanical issue.
- How? Book preventative maintenance with a qualified tech at least once a year.
🎞️ Film Handling & Storage: The Golden Rules
✔ Store Film Like It’s Made of Gold
- Temperature: 15-25°C (59-77°F)—no exceptions.
- Humidity: 30-60% RH—too dry = static, too damp = fogging.
- Light: Keep it in the dark! Even ambient light can cause pre-exposure.
✔ Leave It Sealed Until Use
- Why? Once opened, film is vulnerable to humidity, dust, and contaminants.
- How? Only remove the protective packaging when loading into the printer.
✔ Handle With Care (No Fingerprints!)
- Why? Oils from your skin can cause blotchy artifacts.
- How? Hold film by the edges only—or wear lint-free gloves.
✔ Never Stack Heavy Objects on Film Boxes
- Why? Pressure can cause warping or emulsion damage.
- How? Store film flat and undisturbed in a dedicated cabinet.
🖨️ Printer Operation: Small Steps, Big Impact
✔ Double-Check Printer Settings
- Why? Wrong heat intensity or resolution = wasted film and blurry images.
- How? Always confirm settings before printing—especially when switching film types.
✔ Keep the Printer Stable
- Why? Vibrations or uneven surfaces can cause transport issues.
- How? Place the printer on a solid, level surface, away from foot traffic.
✔ No Interruptions Mid-Print
- Why? Pausing or moving film during printing = misaligned or distorted images.
- How? Let the printer finish its job—no peeking!
✔ Clean Loading Trays Regularly
- Why? Dust buildup can scratch film or cause feeding issues.
- How? Wipe down trays with a static-free cloth weekly.
🔍 Quality Control: Catch Problems Before They Catch You
✔ Run Weekly Test Prints
- Why? Early detection of streaks, fading, or calibration drift.
- How? Print a standardized test image and compare it to baseline.
✔ Inspect Every Film Before Use
- Why? Even small artifacts can impact diagnosis.
- How? Hold films up to a lightbox or viewer before finalizing.
✔ Document Recurring Issues
- Why? Patterns help identify deeper problems (bad film batch? Dying printer part?).
- How? Keep a logbook of artifacts—note when, how often, and under what conditions they appear.
✔ Train (and Retrain) Your Team
- Why? Proper handling is a team effort.
- How? Hold quarterly refreshers on film care and printer best practices.
Consistency Wins.
Flawless thermal imaging isn’t about luck—it’s about routine, attention to detail, and refusing to cut corners. By sticking to these best practices, you’ll:
✅ Reduce retakes (saving time and money)
✅ Extend printer life (avoiding costly repairs)
✅ Deliver sharper, more reliable images (better patient care)
Because in medical imaging, “good habits” aren’t just helpful—they’re non-negotiable.
Thermal Film Artifact Troubleshooting Guide
| Artifact Type | Most Likely Causes | Primary Preventative Measures |
|---|---|---|
| Streaks/Banding | Dirty printer rollers, uneven heat distribution | Clean rollers & print heads weekly; ensure smooth film transport |
| Uneven Density | Inconsistent heating, dying thermal head | Recalibrate printer; replace worn components |
| Fogging | Heat/light exposure before processing | Store film in cool, dark place; process immediately |
| Dark Spots | Debris on film or overheated print head | Clean printer environment; inspect film before loading |
| Light Spots | Blocked heat transfer (dust, film defects) | Ensure clean film path; handle film carefully |
| Stretched/Compressed Image | Film transport issues (slipping rollers) | Check printer mechanics; recalibrate transport system |
| Edge Distortion | Bent film edges, misaligned loading | Handle film by edges only; load carefully |
| Blurring | Low printer resolution, film movement | Use correct settings; ensure printer stability |
| Moiré Patterns | Rescanning printed films | Avoid re-scanning; use original digital files |
| Pixelation | Incorrect DPI settings | Match printer resolution to film requirements |
| Scratches | Rough handling, abrasive storage | Store films flat; use protective sleeves |
| Fingerprints | Skin oils contaminating film surface | Handle by edges only; wear lint-free gloves |
| Dust/Debris Specks | Dirty workspace or storage | Keep film sealed; clean printer area regularly |
🔍 How to Use This Guide
- Identify the artifact on your film.
- Check the “Likely Causes” column—match it to your workflow.
- Apply the “Preventative Measures” to fix (and avoid) the issue.
Pro Tip: Print this out and post it near your workstation! 🖨️
Conclusion: The Art of Flawless Thermal Film Imaging
In medical imaging, every artifact matters—because behind every scan, X-ray, or print is a patient relying on precision, clarity, and accuracy. Thermal film artifacts aren’t just minor annoyances; they can obscure critical details, delay diagnoses, and even lead to unnecessary retakes.
The key to consistent, high-quality results? A proactive approach that combines:
✔ Meticulous printer maintenance (clean, calibrate, service)
✔ Proper film handling & storage (cool, dark, and contamination-free)
✔ Rigorous quality control (test prints, routine inspections, staff training)
Small steps make a big difference. By following best practices and staying vigilant, you can eliminate avoidable artifacts and ensure your thermal films deliver the sharp, reliable images your patients deserve.
Final Recommendations:
🔹 Always consult your equipment manuals and film datasheets—manufacturer guidelines are your best friend!
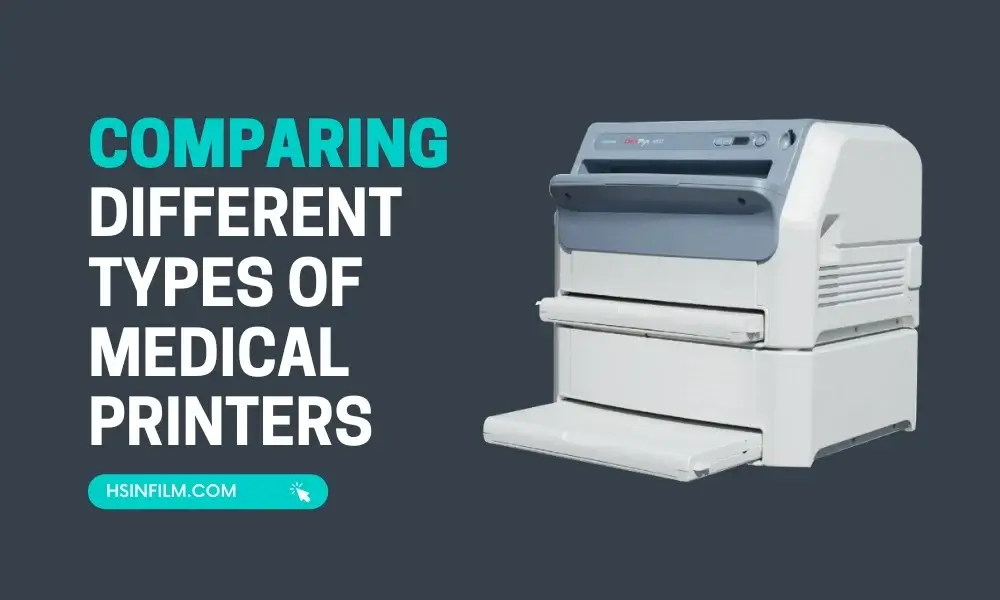
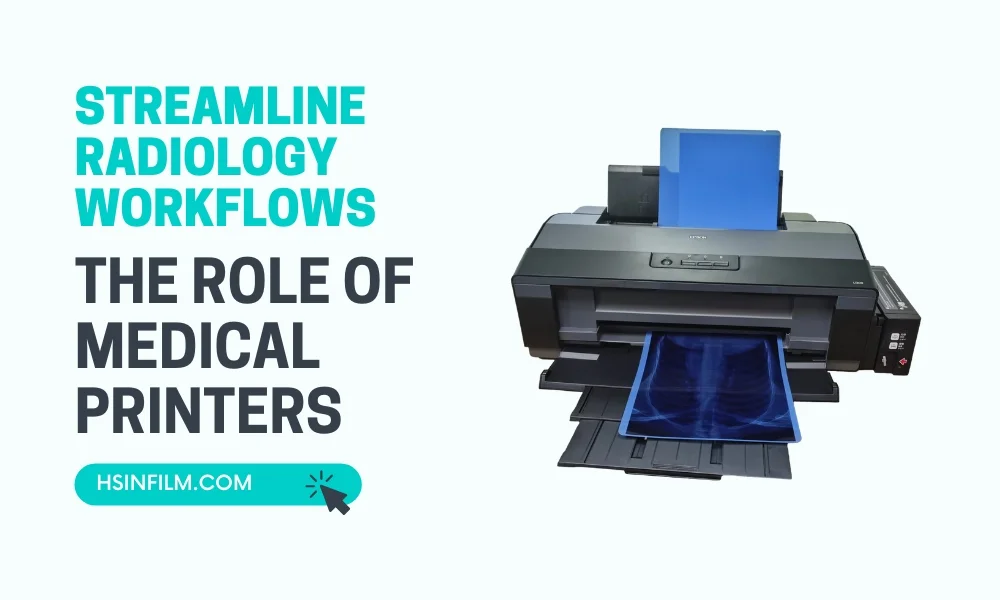
🔹 Consider HSIN Film’s printers and thermal film for seamless compatibility and dedicated troubleshooting support.
Because in diagnostic imaging, excellence isn’t optional—it’s essential.
Have questions or need help troubleshooting? Reach out—we’re here to help you achieve perfect prints, every time! 🚀

