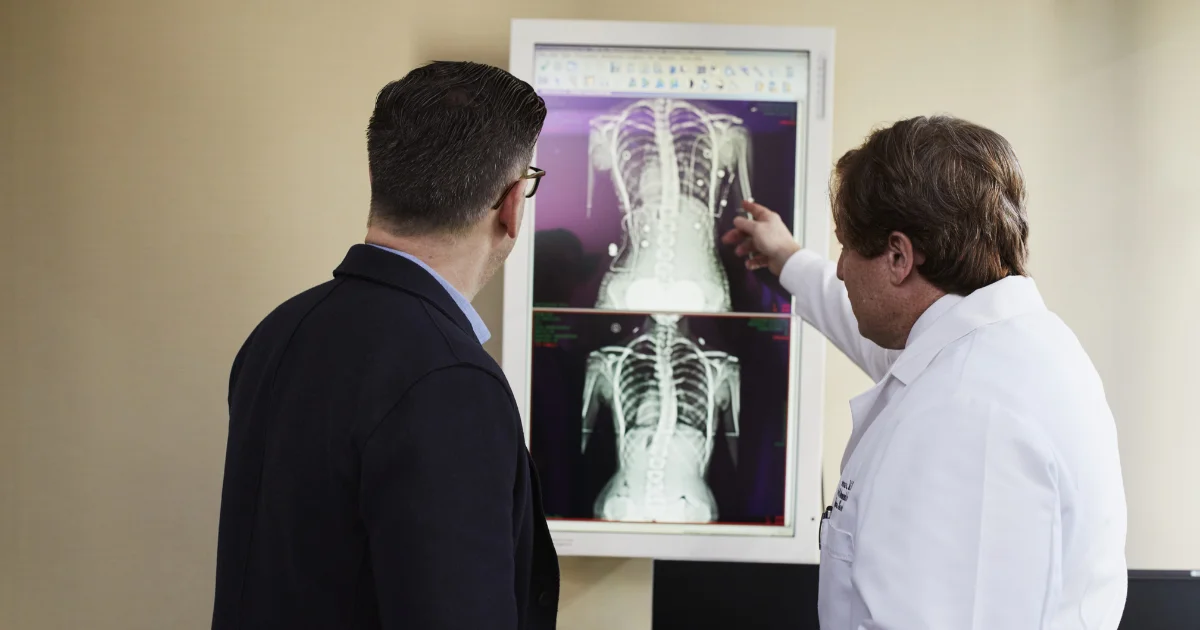
Picture this: You’ve got a patient waiting, a diagnosis on the line, and bam—your medical thermal film images come out looking like a foggy window. Frustrating, right? Blurry medical thermal film images aren’t just an annoyance; they’re a real risk to accurate diagnoses, patient care, and your peace of mind. One unclear shot could mean missed details, delayed treatment, or worse. And let’s be honest—nobody has time for do-overs when every second counts.
But don’t panic! If blurry medical thermal films are ruining your workflow (and your sanity), this guide is your lifeline. We’re breaking down the root causes of those maddeningly fuzzy images and giving you a step-by-step troubleshooting playbook to fix them—fast. No tech jargon, no wild guesses, just clear, actionable solutions to get you back to sharp, reliable results.
Ready to banish blur for good? Let’s dive in. 👇
Table of Contents
Understanding the Impact of Blurry Medical Thermal Film Images: Why Every Pixel Matters
Blurry medical thermal film images aren’t just a minor inconvenience; they’re a big deal. Imagine trying to read a text message smeared with Vaseline. Frustrating, right? Now, multiply that by 100 when it’s a medical image that could determine a patient’s treatment plan.
Blurry Images = Risky Business
Thermal imaging is all about precision. A slight loss of clarity can obscure critical details—like subtle inflammation, vascular irregularities, or early-stage tissue damage. Studies show that poor image quality contributes to diagnostic errors in up to 10% of cases (Journal of Clinical Imaging, 2021). That’s 1 in 10 patients who might get the wrong call because of something as fixable as a fuzzy image.
The Domino Effect of Unclear Results
- Misdiagnosis? Yikes. A blurry medical thermal film image could mask a small hotspot signaling an infection or misinterpret a benign shadow as something sinister.
- Repeat imaging? More scans = more time, more cost, and—let’s face it—more annoyed patients. (Nobody likes being called back because the first shot looked like a ghost decided to photobomb.)
- Delayed treatment? In conditions like deep vein thrombosis or complex regional pain syndrome, every minute counts. A redo could mean hours or even days of setbacks.
Real-World Consequences: When Blurriness Strikes
Take Dr. Patel’s case (name changed for privacy). A patient came in with unexplained leg pain, but the thermal images were just slightly out of focus. The initial read missed a small but crucial temperature asymmetry—turns out, it was early-stage CRPS (Complex Regional Pain Syndrome). By the time they retook the images, the condition had progressed, making treatment harder.
Or consider Nurse Lisa, who had to explain to an anxious patient why their scan needed a do-over—all because of a simple calibration slip. Awkward, time-consuming, and totally avoidable.
Blurry medical thermal film isn’t just a technical glitch—it’s a patient care issue. But here’s the good news: most causes of blurriness are fixable with the right know-how. And that’s exactly what we’re diving into next.
Stay tuned—because no one should have to play “Guess What’s in This Blob?” with medical imaging. 😉
Don’t forget to check our high-quality medical thermal film for your lab.
Decoding the Culprits: Why Your Medical Thermal Films Are Blurry
Ever printed what should be a crisp, diagnostic-quality thermal image—only to get something that looks like it was taken through a frosted window? Before you blame the printer (or your luck), let’s uncover the real villains behind blurry medical thermal films—and, more importantly, how to defeat them.
1. Incorrect Printer Settings: The Resolution Revelation
Why Low Resolution = Blurry Disaster
Think of your thermal printer like a camera—if the resolution is too low, your images turn into pixelated, indistinct messes. Medical thermal films require high DPI (dots per inch) settings to capture fine details critical for diagnosis. Set it too low, and you might as well be trying to read a patient’s chart through frosted glass.
Step-by-Step Fix: Dial in the Perfect DPI
1️⃣ Access Printer Settings
- Open the printer software or navigate the physical control panel.
2️⃣ Find Resolution/DPI Settings
- Look for terms like “Print Quality,” “Resolution,” or “DPI.”
- Check your printer manual for the optimal medical imaging setting (usually 300 DPI or higher).
3️⃣ Crank Up the Quality
- Adjust the DPI to the manufacturer’s recommended value.
- If available, enable “Medical Mode” for enhanced clarity.
4️⃣ Test & Compare
- Print a sample image—notice the crisper details? That’s what diagnostic confidence looks like.
5️⃣ Save as Default
- Lock in these settings so you’re not stuck fixing this again next week.
💡 Pro Tip: Some printers have auto-optimization features—turn them on for foolproof results.
Still blurry? Time to check the next culprit on our list! 🔍
2. Incompatible Film: The Mismatch Catastrophe
Why Using the Wrong Film is a Recipe for Disaster
Not all thermal films are created equal—your printer is a precision instrument that needs the perfect partner to perform at its best. Using off-brand or incompatible film is like putting regular gas in a high-performance engine: it might seem to work, but you’ll get subpar results (and possibly damage your equipment).
The wrong film can cause:
- Poor heat transfer → Faded, uneven images
- Incorrect coating chemistry → Blurry or streaky prints
- Premature wear on your printer’s thermal head
How to Fix It: Find Your Printer’s Perfect Match
Step 1: Identify Your Printer Model
🔍 Check the label on your printer (usually on the back or side).
📝 Note the exact model number—this is your golden ticket to compatibility.
Step 2: Cross-Check with Approved Films
📚 Consult your printer manual or the manufacturer’s website for their official list of compatible films.
⚠️ Warning: Just because a film fits doesn’t mean it’s approved—always verify.
Step 3: Audit Your Current Film
🧐 Check the box or film packaging for:
- Brand and product name
- Specifications (e.g., “For use with [Printer Model X]”)
🚨 If it’s not on the approved list—stop using it immediately.
Step 4: Order the Right Film
🛒 Purchase only manufacturer-recommended films (yes, even if generics are cheaper).
💡 Pro Tip: Buy from authorized distributors to avoid counterfeit products.
Step 5: Test & Confirm
🖨️ Print a test image with the new film—you should see:
✅ Sharper details
✅ Consistent contrast
✅ No streaks or fading
Real-World Consequences of Using the Wrong Film
A clinic once tried to save $50 per box with generic film—only to spend $2,000+ on:
- Repeat scans for patients
- Premature printer repairs
- Lost time troubleshooting
Don’t let this be you! Stick with approved films and enjoy reliable, crisp prints every time.
3. Movement During Printing: The Vibration Villain
Why Your Printer Hates Being Disturbed
Thermal printing is a high-precision process—even slight vibrations can turn your crisp diagnostic images into blurry medical thermal film images. The thermal head needs perfect alignment with the film during printing. Any movement (from carts, nearby equipment, or even heavy footsteps) can cause:
- Micro-shifts in printing → Blurred or double-exposed areas
- Inconsistent heat application → Faded or uneven image density
- Streaking → Visible lines ruining diagnostic quality
How to Eliminate Vibration Issues
Step 1: Stabilize Your Printer’s Foundation
✔ Place on a solid, level surface – No wobbly tables or flimsy shelves.
✔ Use anti-vibration pads – These absorb minor tremors (great for busy clinics).
✔ Check for internal looseness – Tighten any screws or components that may rattle.
Step 2: Secure Mobile Printers
🛒 If on a cart:
- Lock the wheels (no “rolling surprises” mid-print).
- Add weight to the base (a sandbag or stabilizer helps).
Step 3: Create a “No-Touch” Zone
🚫 During printing:
- Avoid leaning on the printer.
- Keep staff from bumping into it.
- Close nearby doors gently (slams = vibrations).
Step 4: Relocate If Necessary
🚚 If vibrations persist:
- Move away from heavy equipment (ultrasound machines, centrifuges).
- Avoid high-traffic areas (hallways, nurse stations).
Step 5: Test & Confirm
🖨️ Print a test image after stabilization—details should now be sharp and artifact-free.
Real-World Example: The Shaky Printer Mystery
A radiology department kept getting mysteriously blurry medical thermal films until they realized their printer was next to an autoclave. Every sterilization cycle sent vibrations through the wall—relocating the printer solved the issue instantly.
💡 Pro Tip: If blur persists after stabilization, check printer feet/leveling—an unbalanced printer can vibrate on its own!
4. Film Degradation Due to Improper Storage: The Spoilage Sabotage
Why Thermal Film is Like a Delicate Wine
Medical thermal film is highly sensitive—just a few hours in the wrong environment can ruin its imaging quality. The chemical coating that creates your images is vulnerable to:
- Heat → Premature activation, causing fogging
- Humidity → Moisture absorption = streaky prints
- Light Exposure → UV degradation = faded images
- Oxygen → Oxidation = reduced contrast
Result? Blurry, low-contrast films that could compromise diagnostic accuracy.
How to Spot Storage-Damaged Film
🔍 Check for:
- Discoloration (yellowish tint)
- Foggy/hazy appearance before printing
- Sticky or tacky surface texture
- Expired shelf life
Step-by-Step Storage Rescue Plan
Step 1: Know Your Film’s Ideal Conditions
📋 Check the datasheet or packaging for:
- Temperature range (usually 15-25°C / 59-77°F)
- Humidity limits (typically <60% RH)
- Light sensitivity (almost always light-protected required)
Step 2: Audit Your Current Storage
🌡️ Use a thermometer/hygrometer to verify:
- Is the storage room temperature-controlled?
- Is humidity within safe limits?
- Is film away from sunlight/UV sources?
Step 3: Protect Unused Film
📦 Always keep film:
✔ In original sealed packaging until use
✔ Inside light-proof containers (if repackaged)
✔ Away from heat sources (radiators, server rooms)
Step 4: Purge Suspect Film
🗑️ If you suspect improper storage:
- Test a sheet—if quality is off, discard the batch.
- Label new stock with arrival dates to track age.
Step 5: Implement Foolproof Storage
🚪 Designate a proper storage space:
- Cool, dark cabinet (not near windows)
- Dehumidifier if humidity is high
- First-In, First-Out (FIFO) system to prevent expired film
Real-Life Consequences of Poor Storage
A clinic stored film in an uncontrolled supply closet—after a heatwave, an entire case of film produced unusable, foggy images. Cost of replacement: $1,200 + delayed patient reports.
💡 Pro Tip: For long-term storage, consider a climate-controlled cabinet with digital humidity monitoring.
Clarity Is Power
Blurry medical thermal films aren’t just annoying—they’re a diagnostic liability. But now, you’re armed with the knowledge to hunt down and eliminate these culprits.
Proactive Measures for Crystal-Clear Thermal Films Every Time

Reacting to blurry medical thermal films is stressful. But what if you could prevent most issues before they happen? With the right proactive habits, you can say goodbye to fuzzy prints and hello to consistent, diagnostic-quality images. Here’s your game plan:
1. Regular Printer Maintenance: The Secret to Long-Term Clarity
“A well-loved printer is a high-performing printer.”
Like a car, your thermal printer needs regular TLC to perform at its best. Dust buildup, worn-out parts, and calibration drift can all lead to gradual image degradation.
Your Maintenance Checklist:
✅ Monthly Cleaning – Use approved wipes to clean the thermal head (dirt = blurry streaks).
✅ Quarterly Calibration – Follow the manufacturer’s guide to keep colors and contrast accurate.
✅ Annual Professional Servicing – Some issues need an expert’s touch.
✅ Log Maintenance Dates – Track when you last serviced it (no more guessing!).
Pro Tip: Keep a maintenance kit (cleaning swabs, calibration sheets, and a soft brush) near the printer for easy access.
2. Proper Film Handling & Storage: Don’t Let Your Supplies Betray You
“Thermal film is like fine wine—store it wrong, and it turns to vinegar.”
Even the best film can fail if mishandled. Improper storage = wasted money and unreliable results.
Film Storage Best Practices:
✔ Temperature Control – Store between 15-25°C (59-77°F)—no attics or garages!
✔ Humidity Check – Keep below 60% RH (a $10 hygrometer saves thousands in ruined film).
✔ Light Protection – Always keep film in its light-blocking packaging until use.
✔ First In, First Out (FIFO) – Use older stock first to avoid expired film surprises.
Real-Life Lesson: A clinic stored film near a sunny window—6 months later, half their stock was unusable. Don’t be that clinic.
3. Staff Training: Because Even the Best Tools Need Skilled Hands
“A printer is only as good as the person using it.”
Mistakes like wrong settings, rough handling, or improper loading often stem from lack of training—not malice.
Key Training Points for Your Team:
🎯 Correct Printer Operation – How to adjust settings, load film, and troubleshoot basic errors.
🎯 Film Handling 101 – No touching the imaging surface, no bending, no exposing to light.
🎯 Emergency Protocols – What to do if prints come out blurry (instead of panic-printing 10 more).
Pro Move: Create a quick-reference guide near the printer with:
- Ideal DPI settings
- Storage do’s & don’ts
- Who to call for help
Prevention > Panic
Blurry medical thermal films don’t have to be your norm. With regular maintenance, smart storage, and trained staff, you’ll spend less time troubleshooting and more time delivering precise diagnoses.
Crystal Clear Thermal Films: Your Key to Confident Diagnoses
At the heart of every accurate medical diagnosis lies one non-negotiable factor: sharp, high-quality thermal images. When films come out blurry, it’s not just an inconvenience—it’s a potential risk to patient care. But here’s the good news: most causes of blurriness are preventable and fixable when you know what to look for.
Your Quick-Action Troubleshooting Recap:
✔ Printer Settings – Always verify your DPI is set to 300+ for medical-grade clarity
✔ Film Compatibility – Only use manufacturer-approved thermal films
✔ Stable Printing Environment – Keep printers on vibration-free surfaces
✔ Proper Film Storage – Maintain cool, dry, dark conditions (15-25°C, <60% humidity)
✔ Regular Maintenance – Clean print heads quarterly and calibrate annually
Why Stay Reactive When You Can Be Proactive?
Waiting for blurry medical thermal film images to happen means wasted time, resources, and patient trust. Instead:
- Schedule monthly printer check-ups
- Train staff on proper film handling
- Monitor storage conditions religiously
Experience the HSIN Film Difference
For thermal films that deliver razor-sharp results every time, trust HSIN Film’s medical-grade solutions. Our films are:
✅ Optimized for diagnostic precision
✅ Manufactured for consistent performance
✅ Stable under proper storage conditions
Don’t compromise on image quality.
📞 Contact us today for a free product consultation and see how the right thermal film can transform your imaging workflow.
Because when it comes to diagnostics, “good enough” should never be good enough.
Your clarity is our priority.
HSIN Film – Where Precision Meets Reliability.
