August 22, 2023

Enhancing Medical Imaging with Thermal Film: An Overview

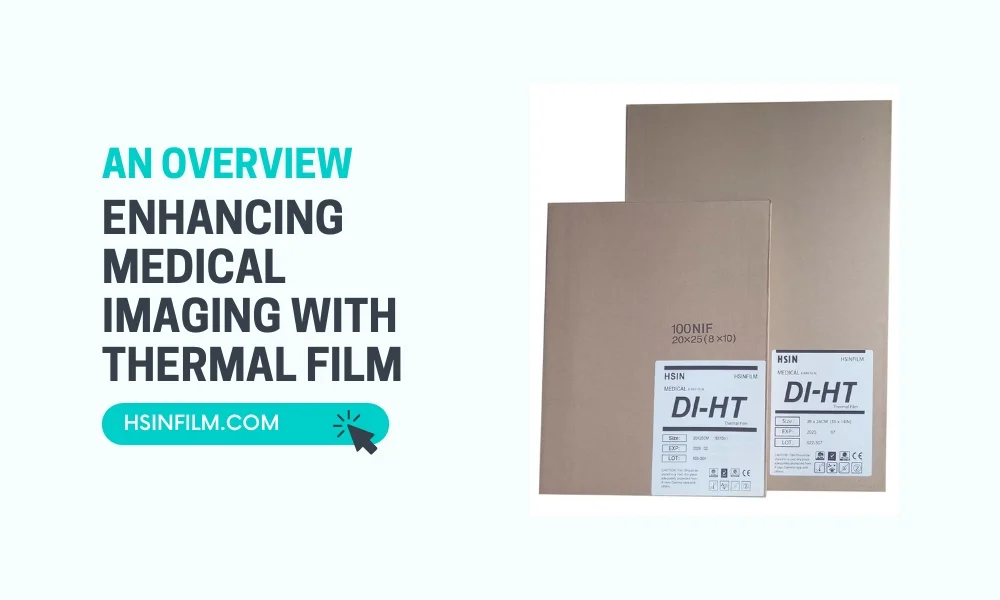
Medical imaging with thermal film has come a long way, thanks to advancements in technology that help radiologists capture high-quality images crucial for diagnosis and treatment. Among these advancements is the use of thermal film for medical imaging. Unlike traditional film, thermal film offers numerous benefits that make it an ideal choice in various healthcare settings. In this guide, we’ll explore how thermal film is enhancing medical imaging, its applications, and the benefits it brings to both radiologists and patients.

What is Thermal Film in Medical Imaging?

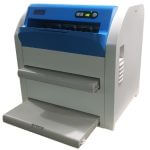
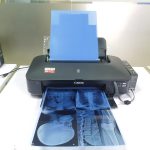
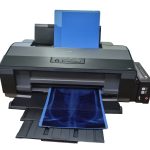
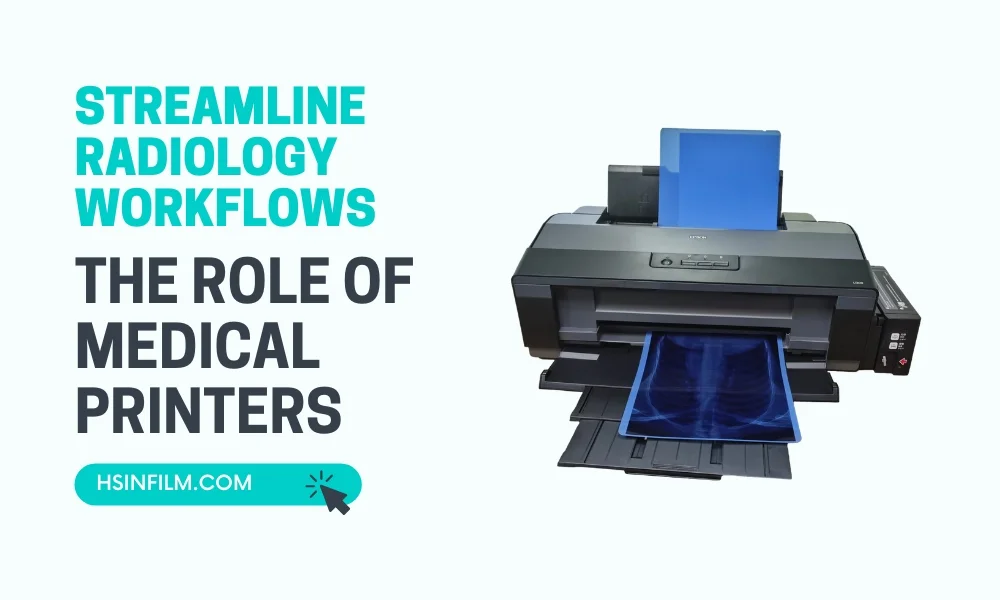
Thermal film is a type of medical imaging film that doesn’t require chemical processing to produce images. Instead, it uses heat from specialized printers to transfer images directly onto the film. This process, known as “thermal printing,” allows for quick image development without the need for wet chemicals, which are commonly used in traditional X-ray film development.

Also read: Enhancing Medical Imaging with Thermal Film

Why Medical Thermal Film Matters in Diagnostics
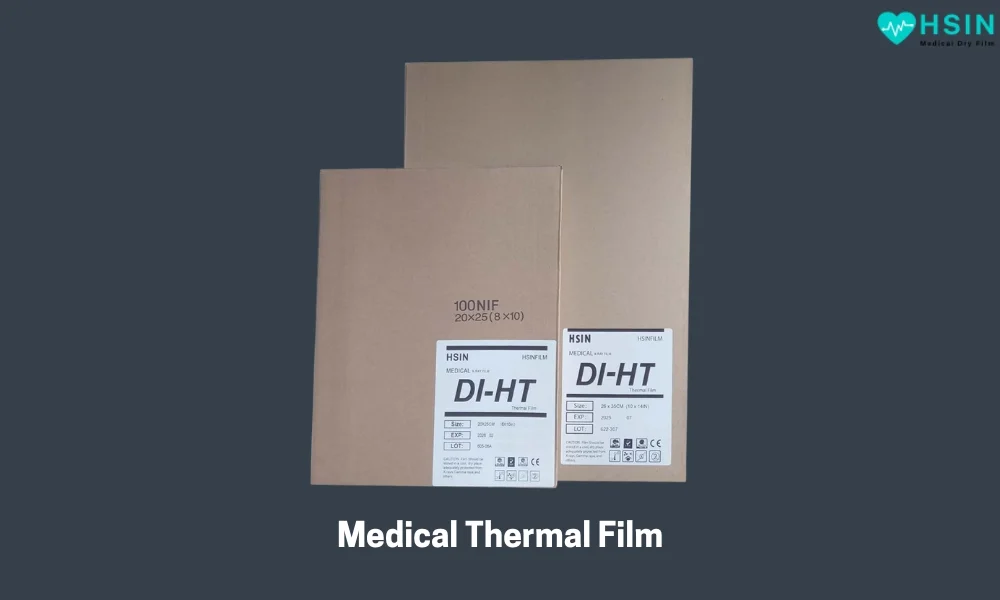
Medical Imaging with Thermal Film - HSIN Film

Let’s paint a picture. Imagine trying to read a book, but the words are blurry. Frustrating, isn’t it? That’s what medical imaging can be like without the clarity and precision thermal film offers. By enhancing medical imaging, it directly contributes to:

  • Improved diagnostic accuracy.
  • Faster diagnosis, leading to timely treatments.
  • Reduced chances of medical errors.

How Medical Thermal Film Works

Radiology departments often handle a high volume of patients, and workflow efficiency is essential for providing timely care. Here’s how thermal film helps streamline processes in radiology.

Quicker Turnaround Times

Because thermal film does not require chemical processing, radiology teams can quickly produce images for immediate review. This faster turnaround time is particularly valuable in emergency settings where rapid diagnosis can make a critical difference.

Reduced Storage Costs

Thermal film’s durability means it doesn’t degrade quickly, allowing for long-term storage without the need for special conditions. This can reduce costs associated with storing and preserving medical records, as well as save space in healthcare facilities.

Enhanced Collaboration

Thermal film enables easy sharing and transfer of medical images, both within a healthcare facility and across different institutions. Since the images are ready almost instantly, radiologists can share findings with other specialists in real time, facilitating collaborative care.

Factors Affecting Image Quality in Thermal Films

The quality of thermal film images can be impacted by various factors, from the type of emulsion used to the processing conditions and developer chemistry. Let’s dive into how each of these factors affects the final image, so we can better understand what’s needed for clear and accurate results.

Emulsion Type: The Film’s Light-Sensitive Layer

The emulsion on thermal film is a thin layer containing light-sensitive particles that react to heat and create the image. The quality and type of emulsion have a big impact on image clarity and sharpness.

  • Emulsion Sensitivity: Higher-sensitivity emulsions react more quickly to heat, creating images faster. However, they may produce more “grain” or less sharpness in the final image.
  • Resolution: Some emulsions are designed for high-resolution images, providing finer details, which is essential for diagnostic accuracy. Lower-resolution emulsions may create fuzzier images, making details harder to see.
  • Contrast Levels: The emulsion also affects the contrast, which is the difference between light and dark areas. High-contrast emulsions help make subtle differences in the image more visible, while low-contrast emulsions can make images appear flat or washed out.

Developer Chemistry: The Ingredients That Process the Image

The chemicals used in the developer solution also play a major role in the quality of thermal film images. These chemicals react with the emulsion to bring out the image’s light and dark areas.

  • Developer Composition: Different chemicals in the developer interact with the emulsion to produce the image. Using the right chemical mix ensures even development and consistent quality.
  • Development Speed: Fast-acting chemicals can produce images more quickly, which is useful in high-demand environments. However, rapid development can sometimes lead to reduced image sharpness or uneven tones.
  • pH Levels: The pH of the developer solution can affect the density and contrast of the image. An acidic developer may enhance contrast, while a neutral or alkaline developer can produce softer images.

Processing Conditions: Temperature, Time, and More

Processing conditions—like temperature, processing time, and humidity—significantly impact the appearance of thermal film images.

  • Temperature Control: Thermal films need specific temperatures for optimal processing. Too much heat can make images overly dark or cause areas to blur, while too little heat may result in underdeveloped or faint images.
  • Processing Time: The length of time the film is exposed to the developer affects density and clarity. Short processing times may result in faint images, while too much time can cause “fogging” where the image appears cloudy.
  • Humidity: High humidity can affect the emulsion, making it softer and potentially blurring the image. Low humidity can cause the film to dry too quickly, creating uneven spots or lines.

Achieving high-quality thermal film images is all about balance. By understanding how emulsion type, developer chemistry, and processing conditions each play a role, it’s possible to fine-tune these factors to get clear, sharp, and reliable images every time.

Advantages of Using Medical Thermal Film

Let’s lay down the facts in a snapshot:

  • High-resolution Imaging: Capture even the minutest of details.
  • Durability: Unlike traditional films, these are less prone to wear and tear.
  • Swift Processing Times: In the world of medicine, every second counts!
  • Cost-effective: In the long run, the investment pays off when compared to other methods.

Key Benefits of Thermal Film for Medical Imaging

The adoption of thermal film in medical imaging offers numerous advantages over traditional film. Here are some of the most notable benefits:

Faster Image Processing

One of the primary benefits of thermal film is the speed at which images can be produced. Since there’s no need for chemical development, images can be printed within seconds, reducing waiting times and improving patient care by allowing for quicker diagnoses.

No Chemicals Needed

Traditional X-ray films require chemical baths for development, which can be costly, time-consuming, and environmentally hazardous. Thermal film eliminates the need for these chemicals, making it a cleaner, more sustainable option for medical facilities.

Enhanced Image Quality

Thermal films offer high-resolution images, which are essential for accurate diagnosis. The thermal printing process is controlled and precise, resulting in consistent image quality that radiologists rely on for evaluating patient conditions.

Easy Storage and Archiving

Thermal films are durable and easy to store. Unlike traditional film that can degrade over time, thermal film has a longer lifespan, making it ideal for archiving patient records. Hospitals and clinics can rely on thermal film for secure, long-term storage of medical images.

Applications of Thermal Film in Medical Imaging

Thermal film is used across various medical imaging procedures, enhancing the workflow and providing radiologists with reliable images. Let’s look at some of the common applications of thermal film in healthcare.

X-Ray Imaging

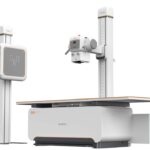
X-rays are one of the most common uses for thermal film. The high resolution and clarity provided by thermal film make it ideal for diagnosing fractures, bone disorders, and chest abnormalities. Thermal film also supports the high throughput that radiology departments need for efficient patient management.

Ultrasound Imaging

Ultrasound imaging often requires multiple scans to capture different angles of the anatomy being examined. Thermal film allows radiologists to quickly produce clear images, which can be essential during real-time examinations. For example, in OB/GYN departments, thermal film is frequently used to capture ultrasound images for prenatal care.

CT and MRI Imaging

Thermal film is also beneficial in capturing images from more advanced imaging systems like CT and MRI scanners. These scans require high levels of detail and precision to diagnose complex conditions accurately. The durability and high-quality output of thermal film make it a reliable option for storing CT and MRI images.

Mammography

In mammography, precise imaging is critical for detecting early signs of breast cancer. Thermal film’s high contrast and clarity enable radiologists to detect small calcifications or masses in breast tissue, aiding in early diagnosis and treatment planning.

Comparing Thermal Film to Digital Imaging in Radiology

In today’s digital age, many hospitals have adopted digital imaging systems. However, thermal film remains relevant due to its unique benefits. Let’s compare the two options and see why thermal film is still widely used.

Thermal Film vs. Digital Screens

While digital screens allow radiologists to view images in real-time on computers, thermal film provides a tangible, hard copy of the images. This can be beneficial in cases where a physical record is needed, or when digital storage options are limited.

Accuracy and Detail

Both thermal film and digital images provide excellent clarity and detail. However, thermal film can sometimes capture certain details that may be missed on digital screens due to resolution or screen size limitations.

Cost-Effectiveness

Thermal film can be a more cost-effective choice for clinics and hospitals with limited budgets. Thermal printers and film are often more affordable than full-scale digital imaging systems, making them accessible to smaller healthcare facilities.

Limitations of Thermal Film in Medical Imaging

While thermal film offers numerous benefits, there are some limitations to consider:

Limited Reusability

Once thermal film has been used, it cannot be reused or recycled. This makes it a less sustainable option than some digital alternatives, as it creates waste with each image produced.

Dependency on Specialized Printers

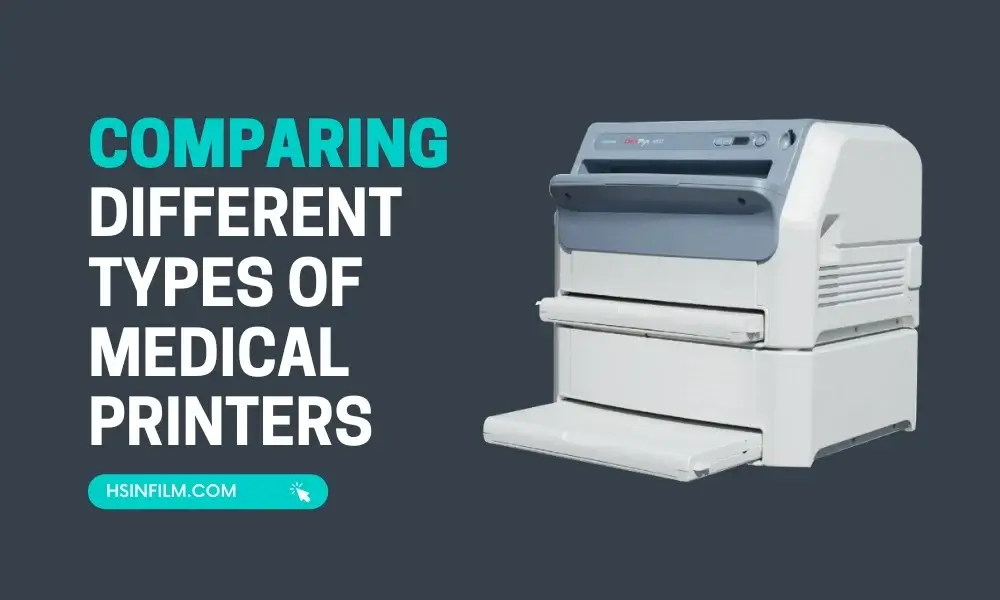
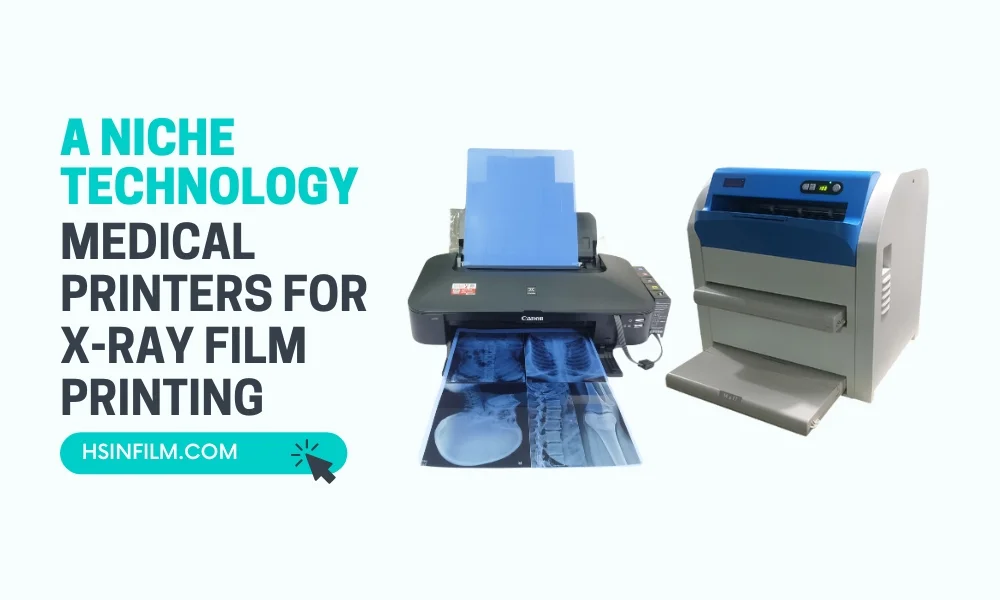
Thermal film requires specialized printers that may not be compatible with all medical imaging systems. This equipment can sometimes be costly, and repairs or replacements may not be as readily available as traditional film processing equipment.

Image Longevity Concerns

Though thermal film is generally durable, it can be sensitive to extreme temperatures or light exposure. If not stored correctly, images may degrade over time, potentially leading to record-keeping challenges in some cases.

Troubleshooting Tips for Thermal Film Processing

Thermal film processing is a detailed process, and sometimes issues can arise that affect the quality of the final image. Here are some common issues that come up in thermal film processing and practical solutions to help achieve consistent, clear results.

1. Faded or Light Images

A faded or too-light image can make it difficult to see details, which is frustrating and often requires a retake. This issue usually stems from insufficient heat or processing time.

  • Check the Temperature: Ensure that the thermal printer or processor is set to the correct temperature. If it’s too low, the film won’t develop properly, leading to a faded image.
  • Increase Processing Time: Try extending the processing time to allow the emulsion more time to react. This can enhance the density of the image, making it clearer and more visible.
  • Inspect the Developer Solution: If you’re using a developer, make sure it hasn’t been overused or diluted, as weak developer chemistry can also cause light images.

2. Overly Dark Images

If images come out too dark or with too much contrast, it may obscure important details and lead to poor image quality. Excessive heat or processing time is often the cause.

  • Adjust the Heat: Lower the temperature of the processor to avoid excessive exposure to heat, which can cause overdevelopment.
  • Shorten Processing Time: Reducing the amount of time the film spends in the processor can help. This prevents the image from becoming overly dark or “burned.”
  • Check Developer Concentration: Overly strong developer chemistry can lead to high-contrast, dark images. Diluting the solution slightly or refreshing the developer can help balance the contrast.

3. Blurred or Unclear Images

Blurred or unclear images make it difficult to interpret diagnostic details accurately. This issue is often related to unstable processing conditions or issues with the emulsion.

  • Stabilize Humidity and Temperature: High humidity or temperature fluctuations can cause the emulsion to soften or shift, leading to blurred images. Maintaining a stable, moderate environment can help.
  • Verify Emulsion Quality: Ensure you’re using a high-quality emulsion suited to your specific thermal film type. Inferior or incompatible emulsions may blur details.
  • Avoid Rapid Cooling: If images are cooled too quickly after processing, the emulsion may not set properly. Allow the film to cool gradually in a controlled environment.

4. Uneven or Patchy Image Development

Sometimes, images may develop with uneven tones or patchy areas, which can reduce the diagnostic usefulness of the film. This issue is often due to inconsistent heat or improper developer application.

  • Ensure Uniform Heating: Make sure that the film is being exposed to even heat across the entire surface. Check the processor for any malfunction that may cause uneven heat distribution.
  • Inspect the Developer Application: If using a chemical developer, ensure it’s evenly applied. Uneven application can lead to some areas developing darker than others.
  • Clean Processing Equipment: Buildup in the processor or dirt on the rollers can lead to uneven image quality. Regularly cleaning the equipment helps ensure even development.

5. Spots or Streaks on the Image

Spots or streaks can appear on thermal film if there’s debris or dirt on the rollers, or if there’s an issue with the developer chemistry.

  • Clean the Rollers and Equipment: Dust or dirt on the rollers or within the processor can transfer onto the film, creating spots. Regular cleaning prevents these marks.
  • Check for Developer Contamination: Contaminants in the developer solution can cause streaks or marks on the film. Replace or filter the developer solution if contamination is suspected.
  • Allow Film to Cool Properly: If the film doesn’t cool in a controlled manner, streaks can appear due to condensation or uneven drying. Let the film cool gradually for a cleaner result.

Thermal film processing can present a few common challenges, but by understanding and addressing these issues, it’s possible to maintain consistent and high-quality images. Small adjustments in temperature, processing time, and regular equipment maintenance can make a big difference in image clarity and reliability. And remember, when in doubt, a quick check of the processing environment often reveals the source of most issues!

The Importance of Quality Control in Thermal Film Processing

Quality control (QC) is crucial in thermal film processing, helping ensure each image is clear, consistent, and accurate. With good quality control measures, you can catch potential issues early and make sure each film meets high standards, which is especially important for reliable diagnostic images.

Why Quality Control Matters in Thermal Film Processing

Quality control helps detect small changes that may affect the final image. This is essential in medical imaging, where accuracy is key for effective diagnosis.

  • Consistency: QC keeps each film at the same quality, so images are reliable from one patient to the next.
  • Diagnostic Accuracy: Clear images help radiologists and doctors spot issues quickly, allowing for more precise diagnoses.
  • Cost Efficiency: By catching issues early, QC can prevent wasted film and reduce the need for re-scans, saving both time and resources.

Key Quality Control Measures for Thermal Film Processing

Quality control in thermal film processing includes several essential checks, from equipment calibration to processing consistency. Let’s look at each one.

1. Equipment Calibration

Equipment calibration means adjusting the thermal printer or processor so it works correctly. A calibrated machine delivers accurate temperature, time, and pressure settings, which are crucial for image quality.

  • Temperature Calibration: Check that the heat settings are accurate, as temperature affects image contrast and clarity.
  • Timing Adjustments: Ensuring the processing time is consistent helps prevent images from being too light or too dark.
  • Roller and Transport Checks: Inspecting rollers and film pathways prevents uneven development and unwanted marks on the film.

2. Regular Maintenance

Routine maintenance keeps equipment in optimal condition, preventing issues that could affect image quality.

  • Cleaning: Dust and debris can create spots or streaks on film, so regular cleaning of rollers and other surfaces is essential.
  • Developer Solution Replacement: For systems using developer solutions, replacing the solution regularly prevents contamination that can impact image quality.
  • Inspection of Components: Regularly checking for worn parts ensures equipment functions smoothly, preventing disruptions in processing.

3. Standardized Processing Conditions

Consistency in processing conditions, such as temperature and humidity, helps produce stable, high-quality images.

  • Temperature and Humidity Control: Keeping these elements stable prevents issues like blurred or faded images.
  • Timing Consistency: Ensuring the film remains in the processor for the same amount of time for each image keeps exposure consistent.
  • Quality Test Films: Running test films regularly helps ensure the machine produces the same quality images over time.

4. Image Quality Evaluation

Evaluating the processed images is a key part of QC, as it helps detect subtle changes in quality that might need adjustments.

  • Image Clarity Check: Confirming the sharpness of lines and details ensures diagnostic features are visible.
  • Contrast and Density Review: Evaluating the contrast and density of the image helps make sure it’s neither too light nor too dark.
  • Artifact Inspection: Checking for any unwanted spots, streaks, or lines on the image helps prevent misinterpretation of the film.

Benefits of Consistent Quality Control

Investing in quality control benefits both patients and healthcare providers by ensuring each film is clear and accurate.

  • Enhanced Patient Care: Reliable images help doctors make accurate diagnoses, contributing to better patient outcomes.
  • Professional Reliability: Consistent quality demonstrates professionalism, reassuring patients and medical staff of dependable results.
  • Cost and Time Savings: By reducing the need for reprints and preventing faulty images, QC saves time and resources in the long run.

Quality control in thermal film processing is about keeping images clear, accurate, and reliable every time. By following QC practices like equipment calibration, maintenance, and standardized processing, you can produce consistent, high-quality images that support effective patient care.

Tips for Optimizing Thermal Film Usage in Radiology

If your radiology department is considering or currently using thermal film, here are a few tips to help you get the best results:

1. Choose High-Quality Thermal Film

The quality of the film can impact image clarity, so it’s essential to use high-quality thermal film that meets healthcare standards. Look for brands and products that are specifically designed for medical imaging to ensure reliable results.

2. Maintain Thermal Printers Regularly

Thermal printers are central to the imaging process, and regular maintenance is key to preventing image quality issues. Ensure that the printers are cleaned and serviced according to the manufacturer’s recommendations to extend their lifespan and maintain image consistency.

3. Use Proper Storage for Long-Term Records

Although thermal film is durable, proper storage can further preserve its quality over time. Store thermal films in a cool, dry environment away from direct sunlight to prevent fading or warping.

4. Train Staff on Optimal Usage

Ensuring that staff members understand how to properly handle and use thermal film can improve both efficiency and image quality. Regular training on printer operation and film handling can reduce errors and improve workflow in the radiology department.

Conclusion

Thermal film plays an essential role in enhancing medical imaging by offering a quick, efficient, and reliable way to produce and store diagnostic images. From X-rays to mammograms, thermal film provides radiologists with the tools they need to make accurate diagnoses and deliver excellent patient care.

As healthcare facilities continue to balance traditional methods with digital innovations, thermal film remains a practical choice in radiology. With its durability, high-quality output, and ease of use, thermal film has carved out a valuable place in medical imaging—benefiting radiologists, patients, and the overall healthcare system.

Whether you’re a radiologist or a healthcare professional, understanding the advantages of thermal film can help you make informed choices about imaging solutions. As technology advances, thermal film will likely continue to be an indispensable asset in the field of diagnostic imaging.

References

Share:

Facebook
Twitter
Pinterest
LinkedIn